How to Clean Your TV Screen Like a Pro: Expert Tips
Ever looked at your TV and noticed those embarrassing fingerprints just as you’re about to show friends your favorite movie? We’ve all been there.
That gorgeous 4K screen deserves better than the quick t-shirt wipe that might actually be damaging it. Learning how to clean your TV screen properly isn’t just about aesthetics—it’s about protecting your investment.
I’ve spent years testing the best TV cleaning methods and consulted display technicians who’ve seen the horror stories of screens ruined by household cleaners. The techniques I’m about to share will transform how you maintain your screens.
But first, let me warn you about the common cleaning mistake that shortens your TV’s lifespan by years (hint: it’s probably sitting under your kitchen sink right now).
Understanding TV Screen Types and Their Cleaning Needs
A. LCD vs. LED vs. OLED: What’s the Difference?
Not all TV screens are created equal, and that’s not just marketing talk. Your cleaning approach should match your screen type.
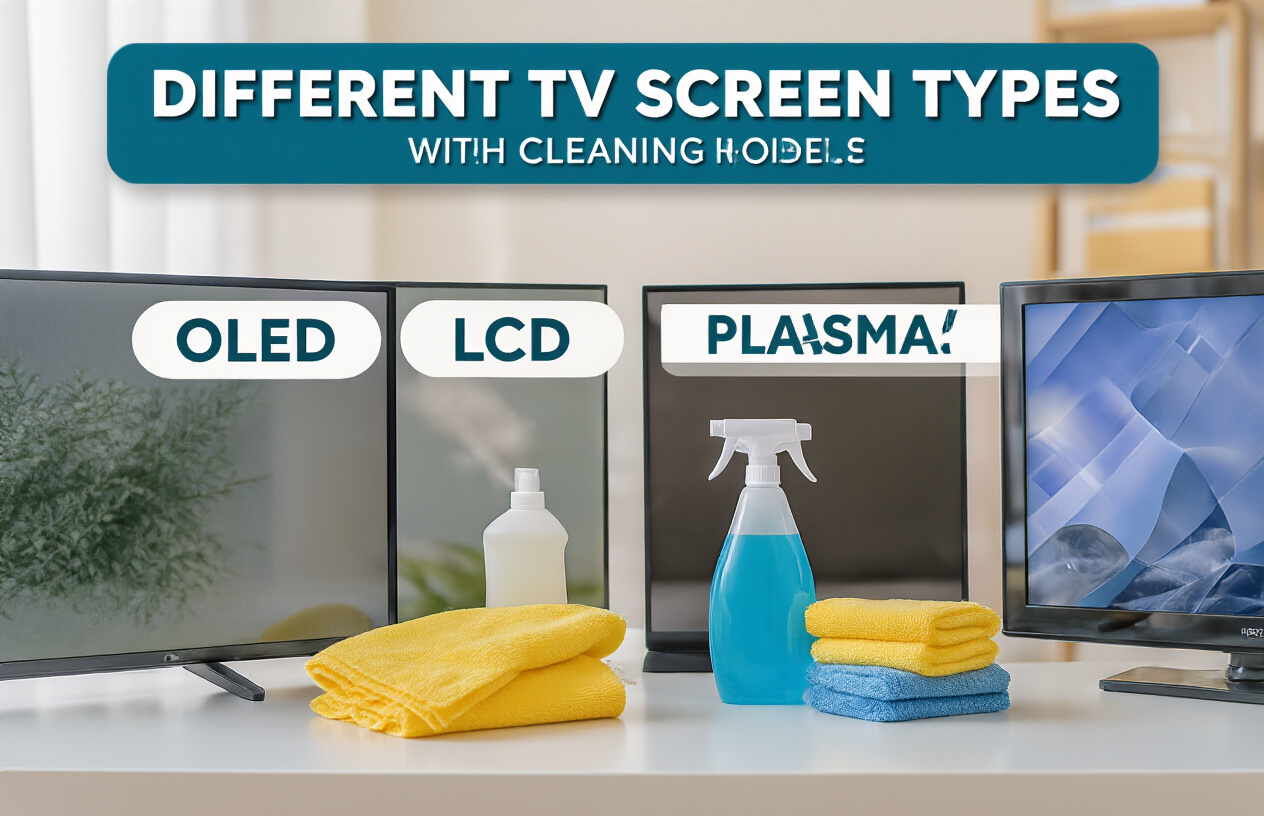
LCD screens use liquid crystals that don’t produce their own light. They need a backlight (usually fluorescent) to create the image you see. These older models can handle slightly more moisture during cleaning, but they’re still sensitive.
LED TVs are actually LCD TVs with LED backlighting instead of fluorescent. Despite the name change, the screen surface is essentially the same as traditional LCDs.
OLED? That’s a whole different ballgame. These screens use organic compounds that light up individually when electricity passes through them. No backlight needed. They’re thinner, with deeper blacks, but also more delicate and expensive. Treat them like precious artifacts when cleaning.
B. Why Regular Cleaning Matters for Picture Quality
Ever notice how a dusty screen makes everything look… off? That’s not your imagination.
Dust particles block light, reducing brightness by up to 30% on neglected screens. Those tiny specks scatter light, making blacks look grayish and colors appear washed out.
Fingerprints are even worse. They’re oily little smudges that distort light passing through your screen, creating those annoying blurry spots during dark scenes.
And here’s something most people miss: regular cleaning extends your TV’s lifespan. Dust buildup can actually trap heat, forcing your TV to work harder and potentially shortening its life.
C. Common Cleaning Mistakes That Damage Screens
The worst thing you can do? Grab that Windex. Seriously, put it down. Ammonia-based cleaners will strip away the anti-glare coating faster than you can say “warranty voided.”
Paper towels are another screen killer. They might seem soft to your hands, but to a delicate screen, they’re like sandpaper, creating micro-scratches that add up over time.
Spraying cleaner directly onto the screen is asking for trouble. Liquid can seep into the edges, potentially causing electrical damage or those dreaded screen blotches.
Excessive pressure while cleaning is unnecessary and dangerous. Modern screens are thin – you don’t need to press hard to remove fingerprints, but you do need just enough pressure to damage the display panel.
Essential Cleaning Supplies for Professional Results
Microfiber Cloths: The Only Safe Option
TV screens are delicate beasts. One wrong swipe with the wrong material, and you’ve got scratches that’ll bug you forever.
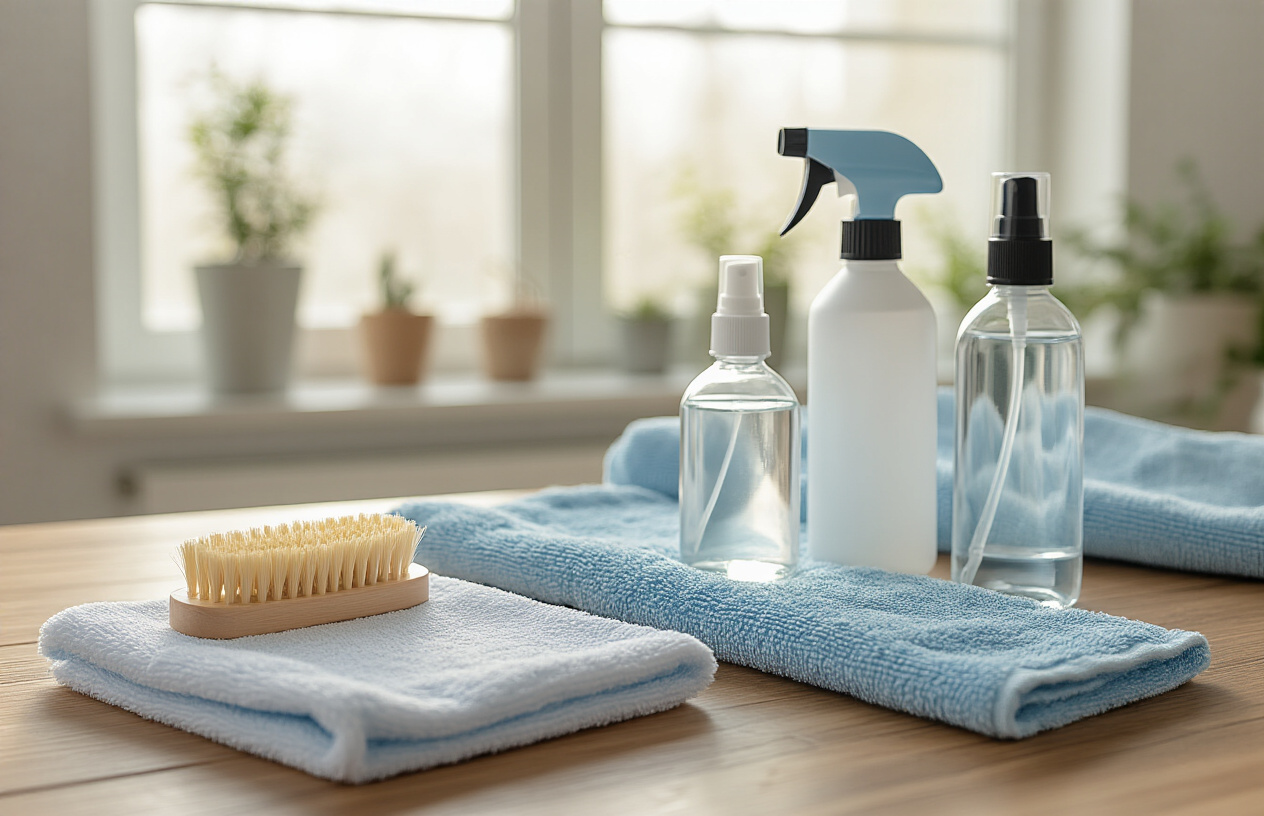
Microfiber cloths are non-negotiable for screen cleaning. Why? They’re ultra-soft and designed specifically to trap dust particles rather than pushing them around (which causes those tiny scratches you might not notice until they’re everywhere).
Don’t grab just any cloth from your kitchen drawer. That old t-shirt? Nope. Paper towels? Absolutely not. Even those seemingly soft cotton cloths can have tiny fibers that scratch your screen.
Pro tip: Keep dedicated microfiber cloths just for your TV. Washing them with fabric softener ruins their effectiveness, so rinse them with plain water and let air dry.
Specialized Screen Cleaning Solutions vs. Homemade Alternatives
Screen cleaning isn’t rocket science, but it does require the right solution:
| Commercial Solutions | Homemade Alternatives |
|---|---|
| Pre-made sprays (designed for electronics) | Distilled water + white vinegar (50/50 mix) |
| Screen-specific wipes | Distilled water alone |
The key word here is “distilled” water. Tap water contains minerals that leave spots on your screen.
For most cleaning jobs, a barely damp microfiber cloth works perfectly. If you need more cleaning power, a tiny bit of distilled water or a specialized electronic cleaner does the trick.
Tools to Avoid: What Never to Use on Your TV
Some cleaning approaches will absolutely destroy your screen:
- Windex or glass cleaners (contain ammonia that damages screen coatings)
- Alcohol-based cleaners (break down screen materials)
- Paper towels or tissues (too abrasive)
- Any spray applied directly to the screen (liquid can seep into edges)
- Pressure washing (kidding, but seriously, don’t press hard)
Your TV manufacturer spent serious money on that anti-glare coating. Don’t strip it off with harsh chemicals.
Budget-Friendly Supply Options That Work
You don’t need to break the bank for spotless screens:
- Buy microfiber cloths in bulk (automotive section has them cheap)
- Make your own solution with distilled water (under $1 per gallon)
- Reuse (but regularly wash) your microfiber cloths
- Check dollar stores for surprisingly good screen cleaning kits
The cheapest approach? Prevention. Keep fingers (especially tiny, sticky ones) away from the screen altogether.
Step-by-Step Professional Cleaning Process
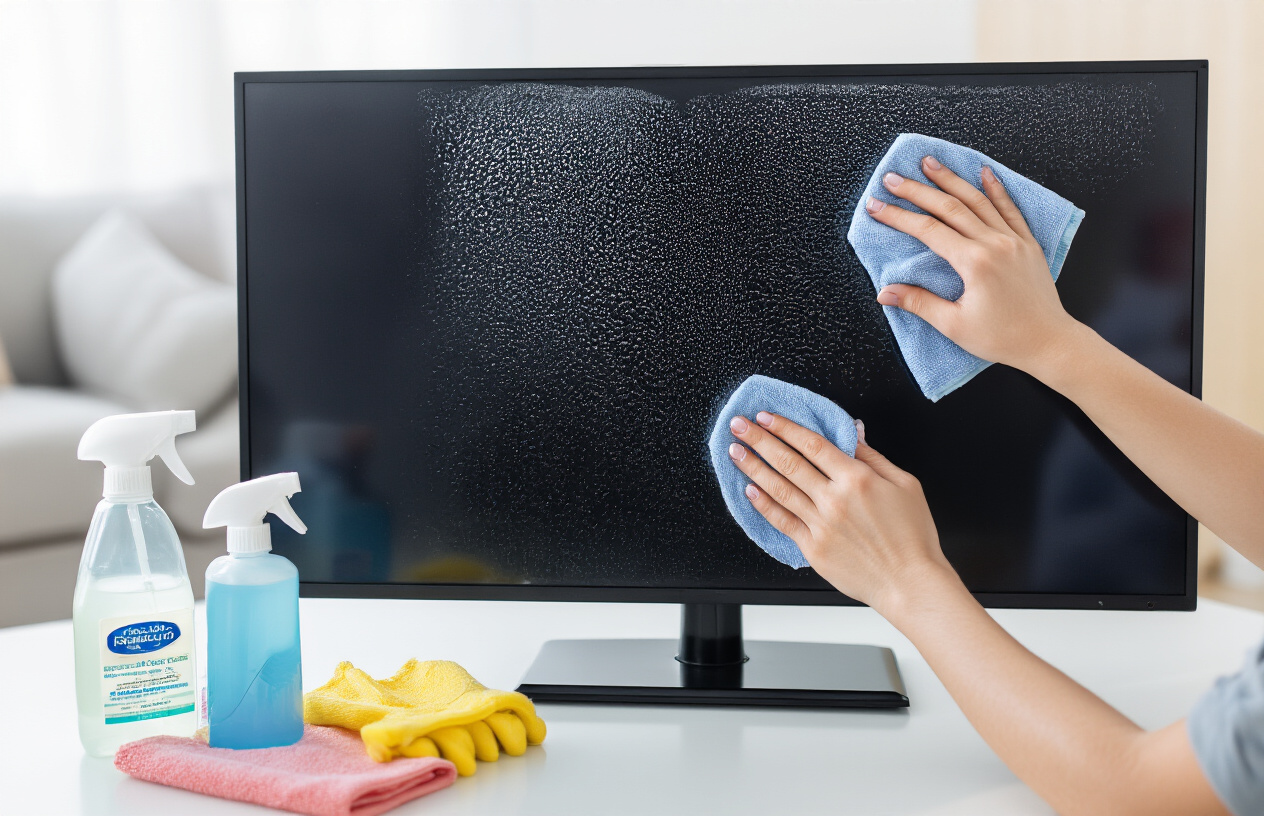
A. Preparation: Safety First
Turning off and unplugging your TV isn’t just being cautious – it’s absolutely necessary. Electricity and cleaning solutions don’t play nice together, and nobody wants a shocking experience while doing household chores.
Wait until your screen is completely cool before starting. Those fancy panels generate heat, and cleaning a warm screen is asking for trouble – it can damage the display or leave annoying streaks that are harder to remove than the original smudges.
Grab the right tools now:
- Microfiber cloths (at least two)
- Distilled water
- White vinegar (for tougher jobs)
- A spray bottle
What you should never use? Paper towels, household cleaners, window sprays, or anything with alcohol or ammonia. These aren’t just bad for your TV – they’re screen destroyers that can strip anti-reflective coatings and leave permanent damage.
B. Dust Removal Techniques
Dust first, clean second. Always.
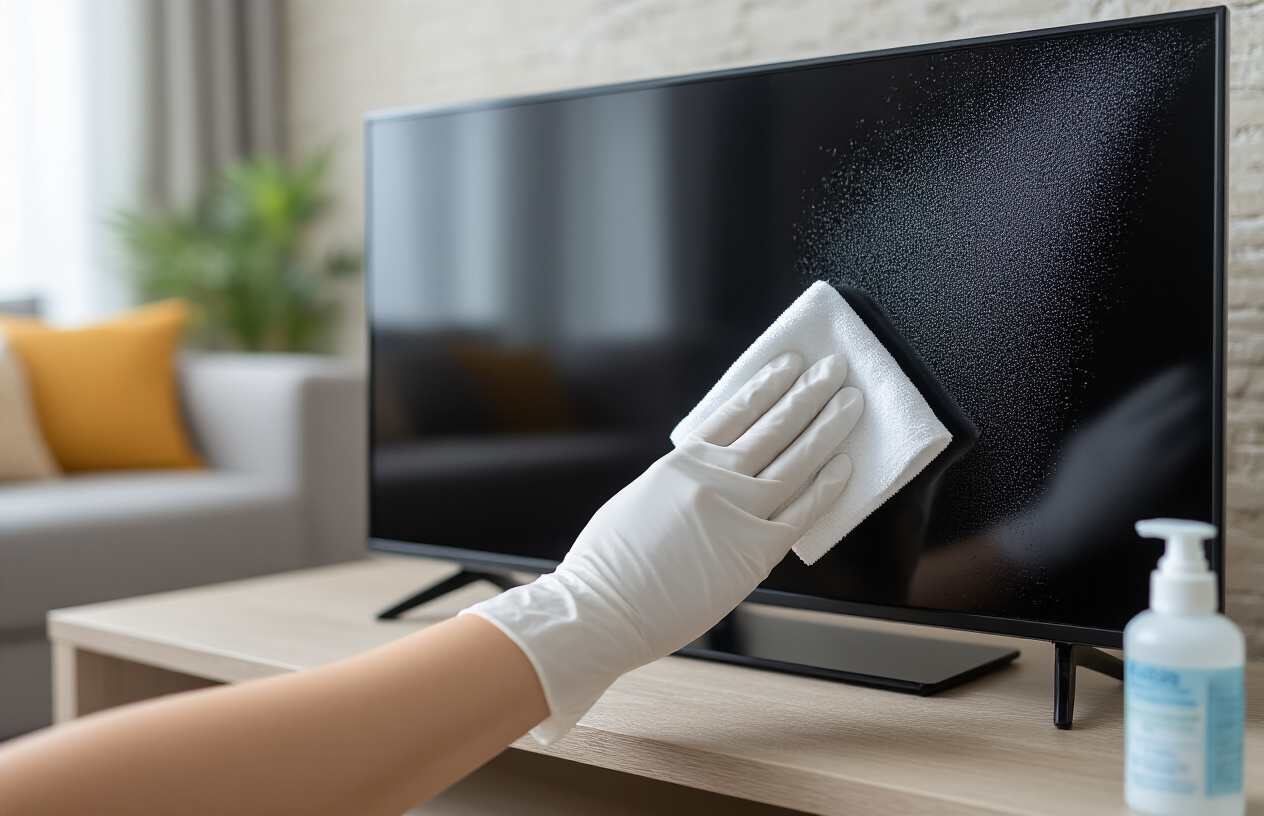
Take a dry microfiber cloth and gently sweep the screen in one direction. No circular motions or pressure here – just light, straight passes from top to bottom.
For those hard-to-reach corners or vents on the back of your TV, a clean makeup brush works wonders. The soft bristles collect dust without scratching delicate surfaces.
Pro tip: Keep a dedicated TV cleaning cloth that never touches cleaning solutions. Cross-contamination from other household surfaces can introduce abrasive particles that scratch your screen.
C. Tackling Fingerprints and Smudges
Found fingerprints all over your screen from the last movie night? No problem.
Mix a solution of equal parts distilled water and white vinegar in your spray bottle. But here’s the crucial part – never spray directly onto the screen. That’s an amateur move that can lead to liquid seeping into the edges and damaging internal components.
Instead, lightly dampen your second microfiber cloth with the solution. The cloth should be barely damp – not wet enough to drip or leave excess moisture.
Gently wipe the screen using straight, overlapping strokes. Start at the top and work your way down methodically.
D. Dealing with Stubborn Stains Without Damage
Stubborn stains require patience, not pressure. Pushing harder won’t help – it’ll just damage your screen.
For those tough spots (maybe where your toddler left mysterious sticky fingerprints), dampen your cloth slightly more and hold it against the stain for about 10-15 seconds. This gives the solution time to break down the gunk without scrubbing.
Then, with very gentle pressure, wipe away from the spot in one direction. Repeat if necessary, but never scrub back and forth.
E. Final Polishing for a Streak-Free Finish
The secret to that showroom-perfect finish? A completely dry, clean microfiber cloth for the final pass.
After cleaning, take your dry cloth and gently buff the entire screen using straight, overlapping strokes. This removes any remaining moisture and prevents those annoying streaks from forming as the screen dries.
Work quickly but thoroughly – allowing small sections to air-dry before you buff them can lead to water spots and uneven results.
Once finished, wait about 15 minutes before powering your TV back on.
Maintaining Your TV Screen Between Deep Cleans
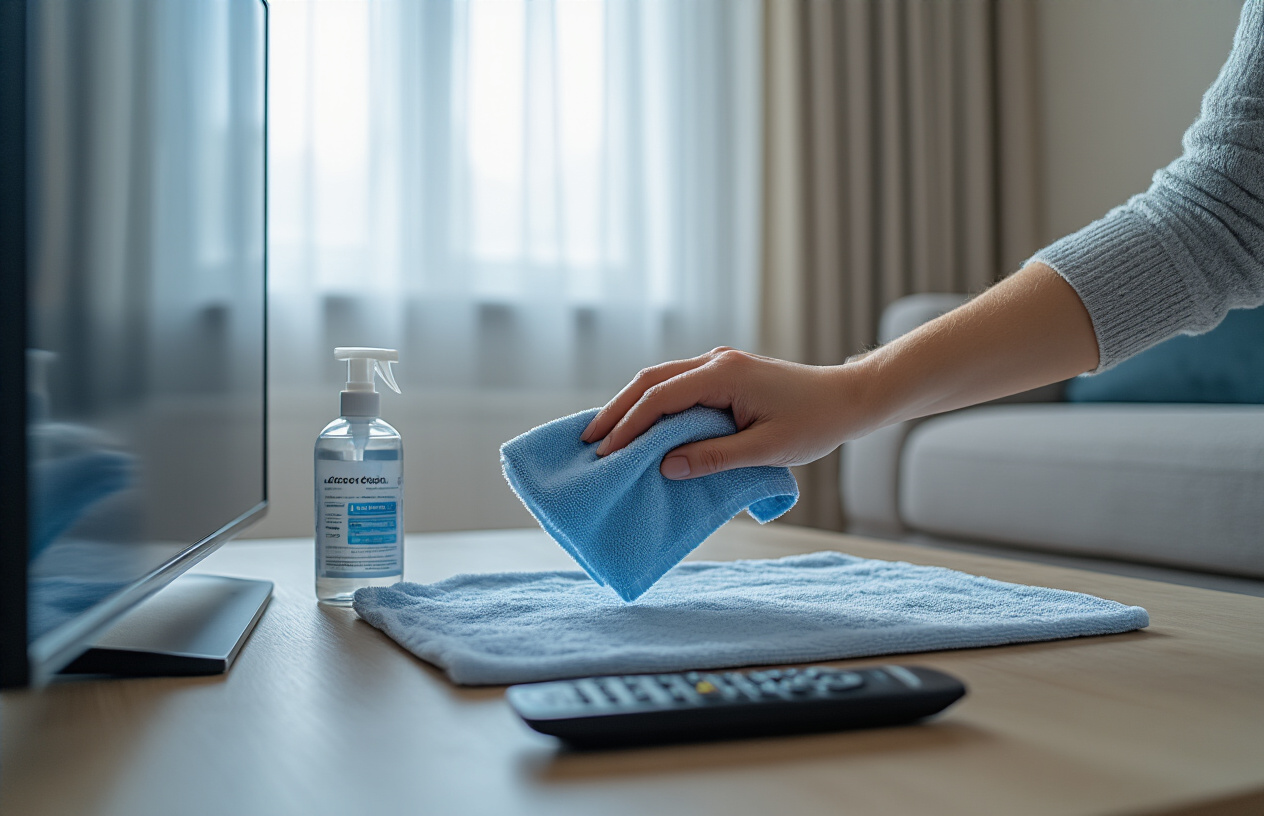
Optimal Cleaning Schedule Based on Environment
Ever notice how your TV screen seems to attract dust like a magnet? That’s because different living environments affect how quickly your screen gets dirty.
If you’ve got pets shedding fur everywhere or kids with sticky fingers, you’ll need to clean your screen weekly. No way around it.
For average homes, aim for a bi-weekly wipe-down. Living near a busy street? Dust settles faster, so stick to the weekly schedule.
Air conditioners and heaters circulate more dust, so during heavy use seasons, bump up your cleaning frequency.
Quick Daily Habits That Prevent Buildup
The secret to a consistently clean TV? Small daily habits that take seconds.
Keep a microfiber cloth nearby and give your screen a quick 10-second dust off before turning it on for the evening. Easy peasy.
Turn off your TV when dusting around it. Seriously. Static electricity from a powered screen literally pulls dust toward it while you’re cleaning elsewhere.
Never eat facing your TV directly. I know, I know—movie nights with popcorn are sacred, but sitting at an angle reduces the chance of food particles landing on your screen.
Protective Measures to Minimize Cleaning Needs
Smart setup choices can dramatically reduce how often you need to clean your TV.
Position your TV away from windows and doorways where outside dirt comes in. This single tip can cut your cleaning needs in half.
Consider an air purifier nearby if you’re in a particularly dusty area. Your lungs will thank you too.
For families with young kids, set a “two-foot rule”—no touching or approaching the TV closer than two feet unless it’s to clean it properly.
Some folks swear by anti-static sprays for the surrounding area (never directly on the screen), which can reduce dust attraction for up to a week.
Troubleshooting Common Screen Cleaning Challenges
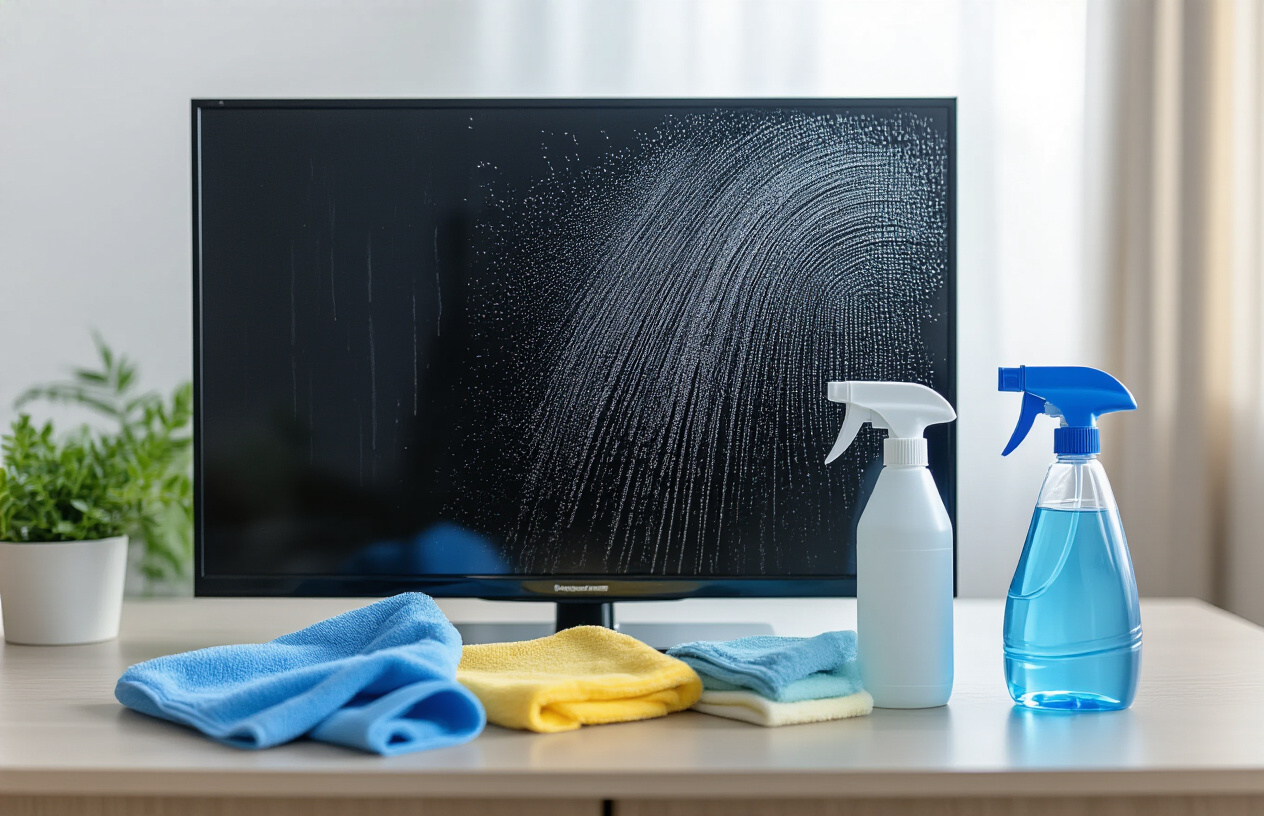
Addressing Static Electricity Issues
Ever noticed that annoying dust that jumps right back onto your TV screen seconds after you’ve cleaned it? That’s static electricit
The fix is simpler than you’d think. Microfiber cloths are your best friend here – they naturally reduce static build-up while cleaning. But here’s a pro tip: lightly dampen your cloth before wiping. The moisture instantly kills that static charge.
Still battling the static monster? Try this weird but effective trick: run a dryer sheet gently over the screen before cleaning. Works like magic, especially during dry winter months.
Solutions for Households with Children and Pets
Tiny fingerprints and mysterious smudges are the calling cards of kids and pets. The challenge? Cleaning frequently without damaging your screen.
Create a cleaning station with pre-moistened microfiber cloths in a sealed container. When disaster strikes (and it will), you’re ready to act fast before those sticky marks set in.
For persistent kid-created messes (like peanut butter – yes, it happens), don’t press harder! Instead, use a fresh section of your cloth and gentle circular motions.
Got pets? That nose art and occasional paw print need special attention. Keep your screen protector on if you have one, and consider scheduling weekly quick-cleans rather than monthly deep ones.
Managing Hard Water Spots and Residue
Hard water spots are the worst – those stubborn white marks that mock your cleaning efforts.
Distilled water is your secret weapon here. Unlike tap water, it contains zero minerals that cause those annoying spots. Mix it with a tiny drop of dish soap for stubborn residue.
For existing water spots, try this: mix equal parts distilled water and white vinegar, dampen your cloth (not wet, just damp), and work in gentle circles. The mild acid in vinegar breaks down mineral deposits without harming your screen.
When to Seek Professional Help
Some situations signal it’s time to call in the pros:
- Screen shows discoloration that doesn’t wipe away
- Liquid has seeped into screen edges
- Cleaning reveals previously hidden damage
- You own a very high-end or antique television
Most TV manufacturers offer cleaning services, and many extended warranties cover professional cleaning once yearly. Worth checking your paperwork!
Before calling anyone, document any existing damage with photos – this protects you from being blamed for pre-existing issues.
Professional cleaning typically costs $50-150 depending on your location and TV size, but prevents the much higher cost of screen replacement.
Keeping your TV screen pristine doesn’t require professional help—just the right knowledge and tools. By understanding your specific screen type, whether LCD, OLED, or plasma, you can select appropriate cleaning methods that protect your investment while delivering crystal-clear results. The step-by-step process we’ve outlined ensures you’ll achieve professional-quality cleaning without risking damage to your delicate display.
Remember that regular maintenance is the secret to extending your TV’s lifespan and visual performance. By implementing quick weekly dust-offs and monthly deeper cleans, you’ll prevent stubborn buildup and maintain optimal picture quality. Should you encounter streaks, static-clung dust, or stubborn fingerprints, the troubleshooting techniques we’ve shared will help you overcome these common challenges. Your entertainment deserves to shine—now you have the expertise to make it happen!
img{
width:100%;
}
table, td, th {
border: 1px solid;
}
table {
width: 100%;
border-collapse: collapse;
}


