How to Disinfect Every Surface in Your Home Correctly
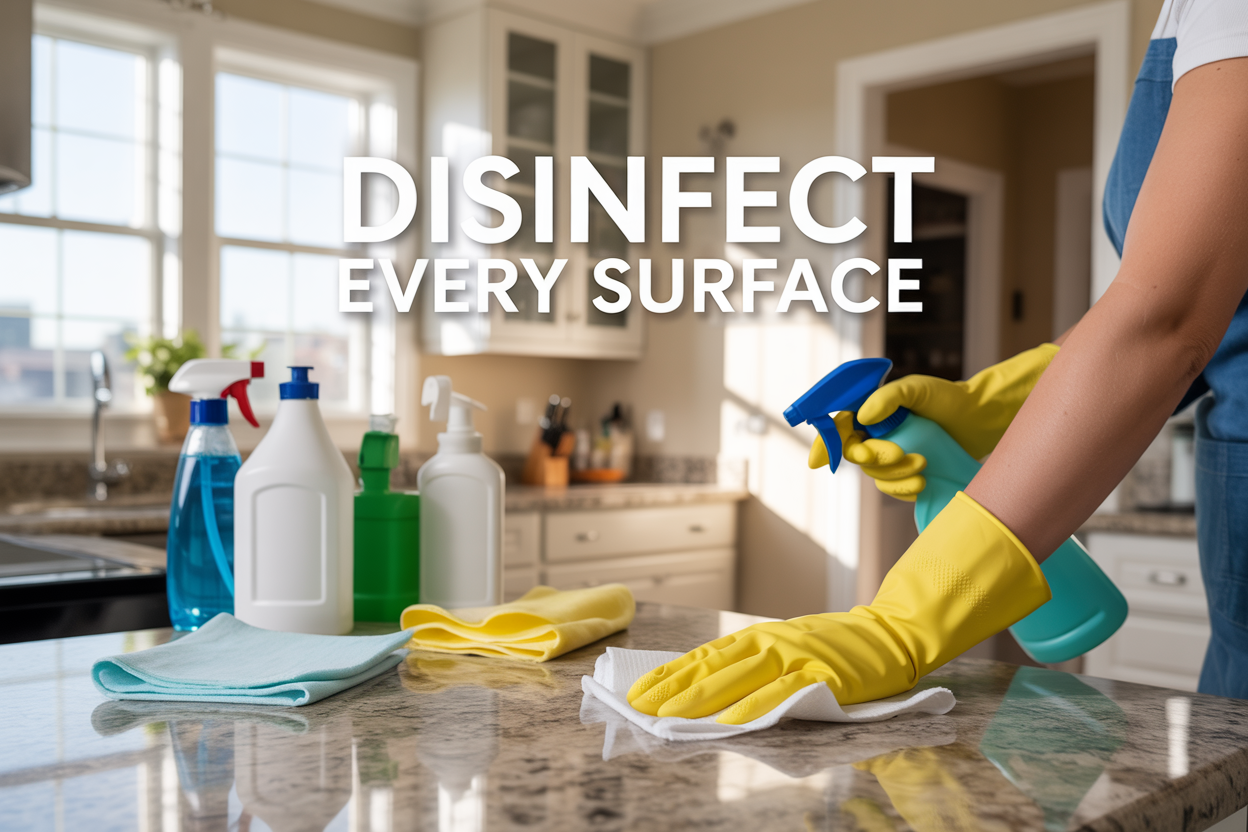
Keeping your home properly disinfected protects your family from harmful bacteria, viruses, and germs that can cause illness.This guide is perfect for busy parents, health-conscious homeowners, and anyone who wants to create a safer living environment without wasting time or money on ineffective cleaning methods.
Learning how to disinfect every surface in your home correctly means understanding which products work best and how to use them properly. Many people make common mistakes that leave germs behind or damage their surfaces.
We’ll walk you through the essential supplies you need for maximum effectiveness and teach you the correct disinfecting techniques that actually kill germs. You’ll also discover which kitchen and bathroom surfaces harbor the most dangerous bacteria, plus get specific strategies for high-risk areas throughout your home.
Essential Disinfecting Supplies You Need for Maximum Effectiveness
Choose EPA-approved disinfectants for proven virus and bacteria elimination
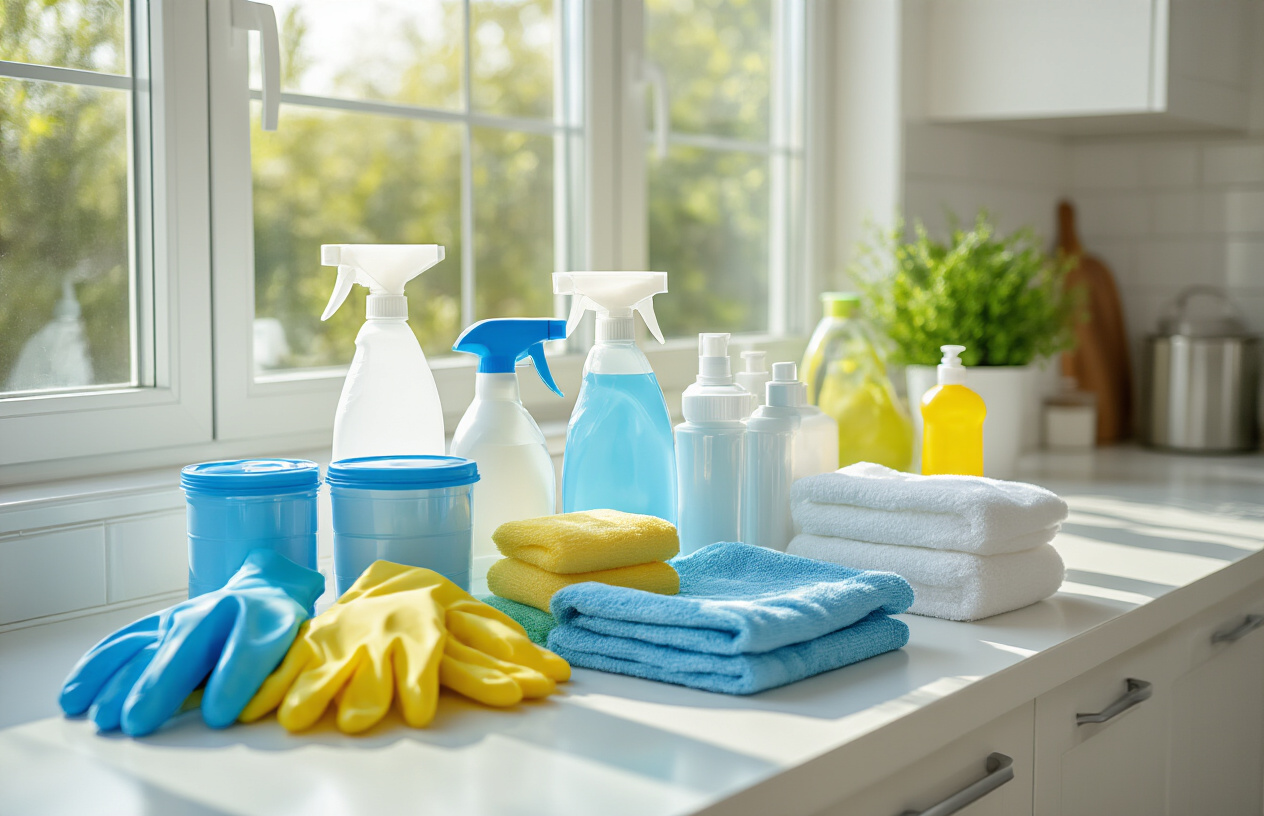
EPA-approved disinfectants carry the government’s stamp of approval for killing specific pathogens, including viruses, bacteria, and fungi. These products undergo rigorous testing to prove their effectiveness against dangerous microorganisms like E. coli, Salmonella, and various viruses including SARS-CoV-2.
Check the EPA registration number on every disinfectant label – this guarantees the product meets federal standards for safety and effectiveness. Popular household brands like Lysol, Clorox, and Pine-Sol offer multiple EPA-approved formulations designed for different surfaces and pathogens.
Key disinfectant types to stock:
- All-purpose disinfectant sprays for quick daily cleaning
- Bleach-based solutions for tough stains and maximum pathogen elimination
- Alcohol-based cleaners (70% isopropyl alcohol minimum) for electronics and delicate surfaces
- Quaternary ammonium compounds for longer-lasting antimicrobial protection
Read contact time requirements carefully – most disinfectants need 30 seconds to 10 minutes of surface contact to work effectively. Many people spray and immediately wipe, which doesn’t give the chemicals enough time to kill germs.
Stock up on microfiber cloths and disposable wipes for different surfaces
Microfiber cloths outperform regular cotton rags because their microscopic fibers trap and remove bacteria rather than just pushing them around. These cloths can be washed and reused hundreds of times, making them cost-effective and environmentally friendly.
Color-coded system prevents cross-contamination:
- Blue cloths for bathrooms and toilets
- Yellow cloths for kitchens and food prep areas
- Green cloths for general living spaces
- Red cloths for high-risk areas like garbage bins
Disposable disinfecting wipes offer convenience for quick cleanups and situations where cross-contamination poses serious risks. Pre-moistened wipes ensure consistent chemical coverage and eliminate the guesswork of proper dilution ratios.
Keep separate cloth collections for wet and dry cleaning tasks. Wet microfiber cloths excel at removing sticky residues and applying liquid disinfectants, while dry cloths work best for dusting and polishing without leaving streaks.
Gather protective equipment to keep yourself safe during cleaning
Chemical exposure during cleaning poses real health risks, especially in poorly ventilated spaces or when mixing different products. Basic protective equipment shields you from harmful fumes, skin irritation, and accidental chemical contact.
Essential protective gear includes:
- Nitrile gloves (avoid latex if you have allergies) for chemical resistance
- Safety glasses to protect eyes from splashes and vapors
- N95 masks for areas with strong chemical odors or mold concerns
- Aprons or old clothing to prevent chemical damage to regular clothes
Never mix different cleaning chemicals – this can create toxic gas clouds that cause serious respiratory damage. Ammonia-based products mixed with bleach produce deadly chloramine gas, while combining hydrogen peroxide with vinegar creates unstable peracetic acid.
Ventilation matters just as much as protective equipment. Open windows and run exhaust fans to prevent chemical buildup in enclosed spaces. Take regular breaks when cleaning large areas to avoid overexposure to fumes.
Organize spray bottles and application tools for efficient coverage
Proper application tools ensure even disinfectant distribution and prevent waste. Different surfaces require different application methods – what works for countertops might damage upholstery or electronics.
Spray bottle organization system:
- Fine mist bottles for delicate surfaces like wood furniture
- Stream spray bottles for targeted application in corners and crevices
- Foam applicators for vertical surfaces where liquid runs off quickly
- Pump sprayers for large surface areas like walls and floors
Label every spray bottle clearly with contents and mixing date. Many disinfectants lose potency over time, especially diluted bleach solutions which become ineffective after 24 hours.
Microfiber mops and extendable dusters help reach high surfaces without ladders. Foam brushes work perfectly for detailed work around faucets, light switches, and cabinet hardware where standard cloths can’t reach effectively.
Store application tools separately from cleaning chemicals to prevent accidental contamination. Rinse spray bottles thoroughly between different products to avoid dangerous chemical reactions.
Master the Correct Disinfecting Technique for Best Results
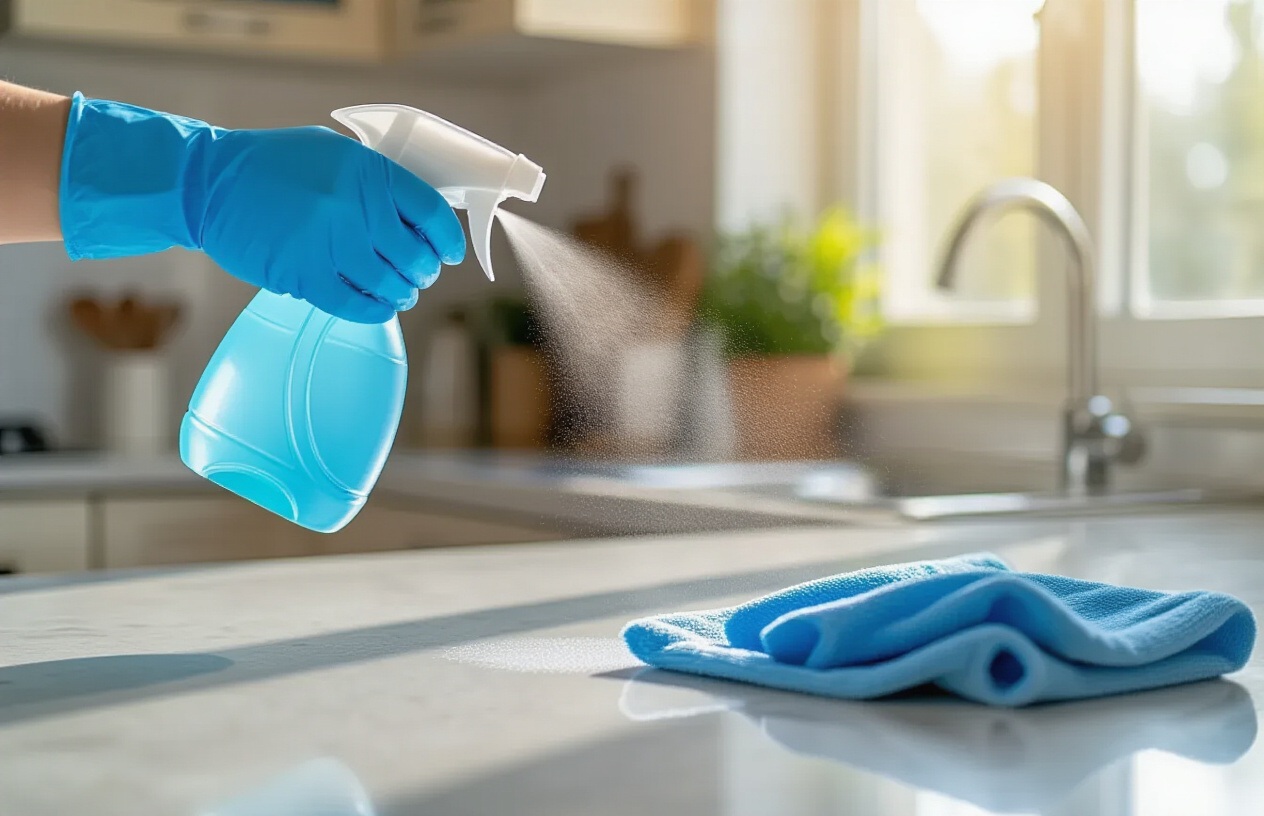
Clean visible dirt and debris before applying any disinfectant
Most people make the critical mistake of spraying disinfectant on dirty surfaces, but this approach dramatically reduces effectiveness. Dirt, grime, and organic matter create a protective barrier around germs, preventing disinfectants from reaching their targets. Always start with a thorough cleaning using soap and water or an all-purpose cleaner.
Wipe away crumbs, sticky spills, and visible debris completely. Pay special attention to textured surfaces where particles can hide in grooves and crevices. For heavily soiled areas, you might need to scrub with a brush or use a degreasing agent first. This initial cleaning step removes the physical barriers that shield bacteria and viruses from your disinfectant.
Apply disinfectant generously to ensure complete surface coverage
Skimpy application won’t get the job done. Your disinfectant needs to coat the entire surface evenly, creating a wet layer that stays visible during the contact time. Many people spray too lightly, leaving dry spots where germs survive.
Use enough product so the surface remains visibly wet throughout the required contact time. For large areas like countertops, work in sections to maintain proper coverage. Don’t forget edges, corners, and raised surfaces like faucet handles or cabinet knobs. These high-touch spots often get missed but harbor the most dangerous pathogens.
| Surface Type | Coverage Amount | Application Method |
|---|---|---|
| Hard surfaces | Visible wet layer | Spray or wipe thoroughly |
| Porous materials | Saturate without pooling | Apply with cloth or sponge |
| Electronics | Light misting | Use approved wipes only |
Follow contact time requirements for proper germ elimination
Every disinfectant has a specific contact time printed on the label – usually between 30 seconds and 10 minutes. This isn’t a suggestion; it’s the minimum time needed to kill targeted pathogens. Wiping away the disinfectant too early means germs survive.
Different types of germs require different contact times. Bacteria typically die faster than viruses, while fungal spores can be the most resistant. Check your product label for specific pathogen kill times. Set a timer if needed, especially for high-risk areas like bathroom surfaces or kitchen cutting boards.
During contact time, the surface must stay wet. If it starts drying before the time is up, apply more disinfectant. This is particularly important on porous surfaces that absorb liquids quickly.
Use proper wiping motions to avoid spreading contaminants
Your wiping technique can either eliminate germs or spread them around. Start with the cleanest areas and work toward the dirtiest, using overlapping strokes in one direction. Avoid circular motions, which can redistribute bacteria back onto cleaned surfaces.
Use a fresh section of your cleaning cloth for each wipe, or use disposable wipes for heavily contaminated areas. When cleaning large surfaces, work in a systematic pattern – left to right, then down to the next row. This prevents cross-contamination and ensures you don’t miss any spots.
For disinfecting cloths, wash them in hot water between uses or use disposable options for high-risk situations. Never use the same cloth for multiple surfaces without cleaning it first, especially when moving between bathrooms and kitchens.
Kitchen Surfaces That Harbor the Most Dangerous Germs
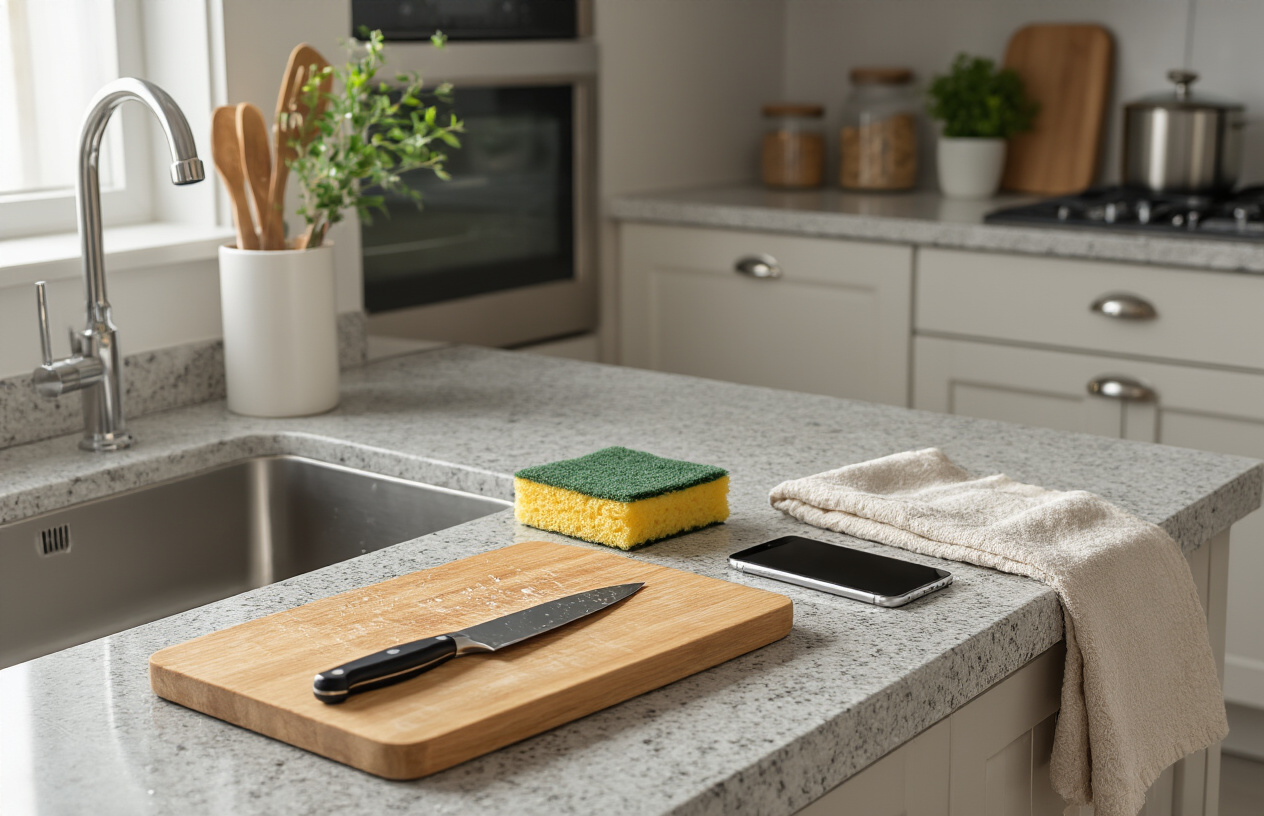
Sanitize countertops and cutting boards to prevent food contamination
Countertops and cutting boards are ground zero for bacterial warfare in your kitchen. Raw meat, poultry, and seafood leave behind invisible armies of pathogens like Salmonella, E. coli, and Campylobacter that can multiply rapidly on these surfaces.
Start with your countertops by clearing everything off completely. Spray a disinfectant solution and let it sit for the contact time specified on the label – usually 30 seconds to 2 minutes. Wipe with clean paper towels or microfiber cloths, working from cleanest areas to dirtiest. Never reuse the same cloth on multiple surfaces without washing it first.
Cutting boards demand extra attention based on their material:
Plastic cutting boards:
- Wash with hot, soapy water immediately after use
- Soak in a bleach solution (1 tablespoon bleach per gallon of water) for 2 minutes
- Run through the dishwasher on the hottest setting when possible
Wood cutting boards:
- Scrub with coarse salt and half a lemon to remove odors and bacteria
- Apply white vinegar and let sit for 5 minutes before rinsing
- Never soak wooden boards or put them in the dishwasher
Replace cutting boards when deep grooves develop, as these crevices become bacterial hideouts that cleaning can’t reach. Keep separate boards for raw meat and produce to prevent cross-contamination.
Deep clean appliance handles and control panels effectively
Your refrigerator handle gets grabbed dozens of times daily with unwashed hands, making it a bacterial hotspot. The same goes for microwave doors, oven handles, and dishwasher controls – all frequently touched surfaces that rarely get the cleaning attention they deserve.
Start your appliance cleaning routine by unplugging devices when safely possible. For refrigerator handles, use antibacterial wipes or a disinfectant spray on a microfiber cloth. Pay special attention to the area where fingers naturally grip, including the underside of handles where grime accumulates.
Microwave exteriors need daily attention since steam and food splatters create sticky surfaces where bacteria thrive. Clean control panels with a lightly dampened cloth – never spray liquid directly onto electronic controls. For touch screens, use electronics-safe wipes to avoid damage.
Daily appliance disinfection checklist:
- Refrigerator and freezer handles (inside and outside)
- Microwave door and handle
- Oven door handle and control knobs
- Dishwasher control panel and handle
- Coffee maker exterior and water reservoir lid
- Toaster exterior and crumb tray
Don’t forget appliance interiors either. Wipe down refrigerator shelves weekly with a baking soda solution, clean microwave turntables after each use, and empty drip trays regularly to prevent mold growth.
Disinfect sink faucets and cabinet hardware thoroughly
Your kitchen sink area harbors more bacteria than your toilet seat – a shocking reality that makes proper disinfection critical. Faucets, soap dispensers, and cabinet pulls get constant contact from contaminated hands during food preparation.
Faucet handles require special attention since they’re touched before and after washing hands. Remove mineral buildup first using white vinegar, then apply your disinfectant thoroughly. Don’t miss the aerator at the faucet tip, which can harbor bacteria in its screen mesh.
Cabinet hardware cleaning technique:
- Remove loose debris with a dry cloth
- Apply disinfectant to all surfaces, including screw areas
- Let contact time work according to product instructions
- Wipe clean with fresh cloth
- Dry completely to prevent water spots and corrosion
Pay attention to these often-missed spots around your sink area:
| Surface | Cleaning Frequency | Special Notes |
|---|---|---|
| Faucet handles | After each cooking session | Focus on textured grips |
| Soap dispenser | Daily | Clean pump mechanism |
| Cabinet pulls near sink | Daily | Grease buildup common |
| Light switches | Daily | Use electronics-safe cleaner |
| Towel bars | Every few days | Replace towels frequently |
The space between your backsplash and countertop collects grease, water, and food particles that create perfect breeding conditions for bacteria. Use a small brush or old toothbrush with disinfectant to reach these tight spaces where regular wiping falls short.
Bathroom Disinfection Strategies for High-Risk Areas
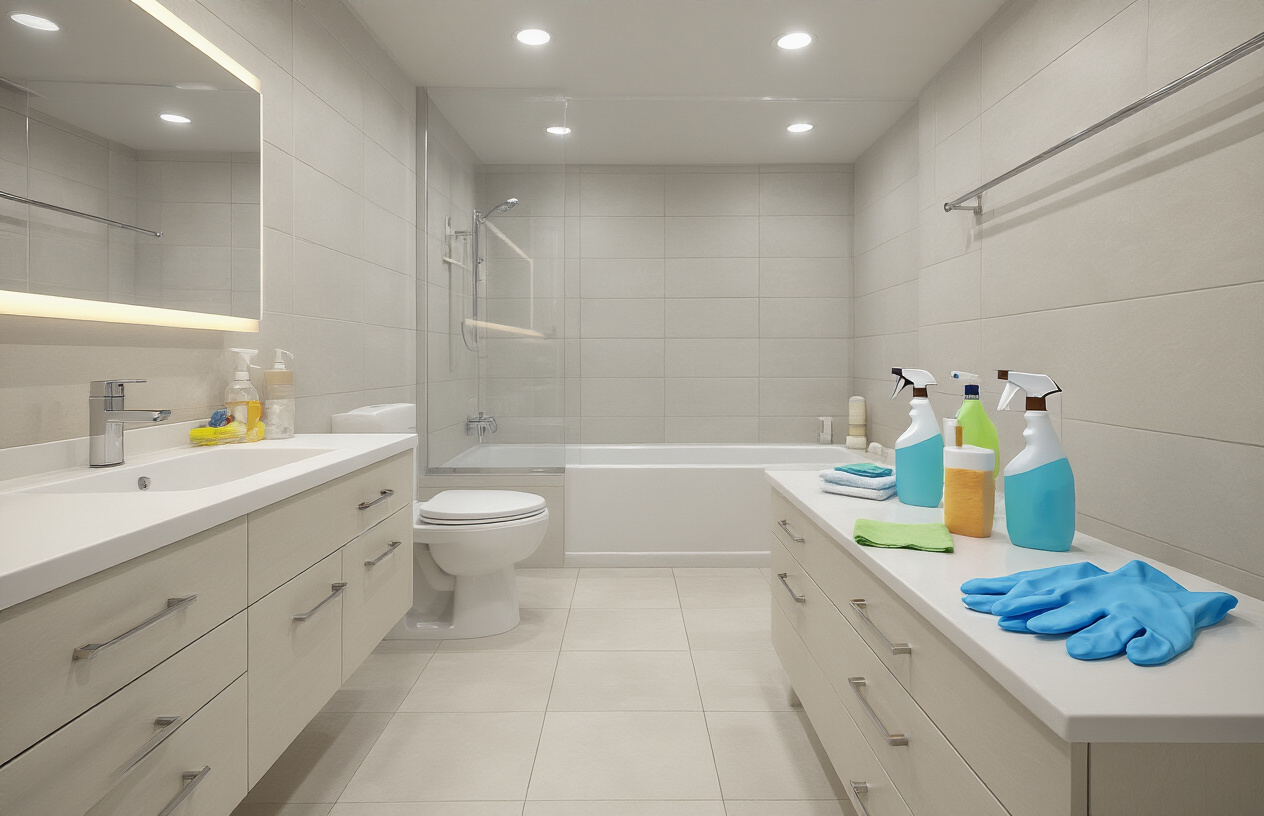
Target toilet surfaces and handles with hospital-grade cleaners
The toilet area contains the highest concentration of harmful bacteria and viruses in your bathroom, making it critical to use powerful disinfectants that can eliminate these pathogens effectively. Hospital-grade cleaners containing at least 70% alcohol or EPA-registered antimicrobial agents work best for this high-risk zone.
Start by applying disinfectant to the toilet handle, which gets touched multiple times daily by everyone in your household. Spray the entire handle and let the solution sit for the manufacturer’s recommended contact time—typically 30 seconds to 2 minutes. Don’t rush this step; contact time is what actually kills the germs.
Move to the toilet seat, lifting it to clean both the top and bottom surfaces. Pay special attention to the hinges where bacteria love to hide. The toilet bowl rim needs thorough attention too, as splashing can spread contamination to these areas. Use a dedicated toilet brush that you disinfect separately after each use.
Clean the exterior of the toilet bowl, including the base where dust and moisture create perfect breeding conditions for microorganisms. The area behind the toilet, often overlooked, collects significant bacterial buildup and requires regular disinfection. Always work from cleanest to dirtiest areas to avoid cross-contamination, and never use the same cloth or sponge on multiple surfaces without disinfecting it first.
Sanitize shower and bathtub surfaces to eliminate mold and bacteria
Shower and bathtub areas create the perfect storm for microbial growth due to constant moisture, warmth, and soap residue that feeds bacteria and mold. These conditions make regular disinfection absolutely essential for maintaining a healthy bathroom environment.
Focus on high-touch surfaces first: faucet handles, shower controls, and grab bars accumulate the most hand contact and require daily disinfection. Use a disinfectant specifically designed for bathroom surfaces that can handle both bacteria and mold spores. Spray these areas generously and allow proper contact time before wiping clean.
Shower walls and bathtub surfaces need weekly deep disinfection, paying close attention to grout lines where mold thrives. Black or discolored grout isn’t just unsightly—it’s a health hazard. Apply a mold-killing disinfectant and let it penetrate for several minutes before scrubbing with a dedicated brush.
The shower floor requires special attention since it’s where dead skin cells and soap create a nutrient-rich environment for bacteria. Use an antifungal disinfectant and scrub thoroughly, especially in corners and around drain areas. Don’t forget shower doors or curtains, which trap moisture and develop invisible biofilms that harbor dangerous pathogens.
Ventilation plays a crucial role in preventing recontamination. Run exhaust fans during and after showers to reduce moisture that allows microorganisms to multiply between cleanings.
Clean mirrors and light switches for complete bathroom hygiene
Mirrors and light switches represent frequently overlooked surfaces that can harbor surprising amounts of bacteria and viruses, making them important components of comprehensive bathroom disinfection. These surfaces get touched regularly but rarely receive proper sanitization attention.
Bathroom mirrors accumulate more than just water spots and toothpaste splatters. Every time someone coughs, sneezes, or talks near the mirror, respiratory droplets land on the surface and can survive for hours or even days. Clean mirrors with a disinfectant that won’t damage the reflective coating—alcohol-based cleaners work perfectly for this purpose.
Light switches get touched by wet hands throughout the day, creating an ideal transfer point for bacteria and viruses between family members. The textured surface of most light switch plates provides plenty of hiding spots for microorganisms. Use disinfectant wipes or spray the switch plate thoroughly, making sure to get into all the crevices around the switch mechanism.
Don’t overlook dimmer switches, which have even more surface area and grooves where germs can hide. The same applies to exhaust fan switches, which often get forgotten during cleaning routines but get used every time someone showers.
Other frequently touched surfaces that deserve attention include towel hooks, toilet paper holders, and any decorative items on counters. These items get handled regularly with potentially contaminated hands, making them part of the contamination chain that needs to be broken through proper disinfection.
Disinfect bathroom door handles and towel racks properly
Door handles and towel racks create critical transfer points for bacteria and viruses in bathrooms, often becoming the most contaminated surfaces due to constant contact from multiple household members throughout the day. These high-touch surfaces require specific disinfection strategies to break the chain of contamination effectively.
Bathroom door handles get touched by hands that may have just been in contact with toilet surfaces, making them extremely high-risk areas. Both sides of the handle need thorough disinfection, along with the surrounding door area where hands might accidentally touch. Use a broad-spectrum disinfectant and apply it generously, ensuring complete coverage of all handle surfaces including the back side that often gets missed.
Towel racks present a unique challenge because they’re in constant contact with damp towels, which create perfect breeding conditions for bacteria and mold. The metal or plastic surfaces of towel bars accumulate moisture, dead skin cells, and soap residue transferred from towels. Clean towel racks daily with disinfectant, paying attention to mounting brackets and wall contact points where moisture can collect.
Towel hooks require similar attention, especially the top surfaces where towels drape over them. These areas trap moisture and organic matter, creating biofilms that protect harmful microorganisms from casual cleaning attempts. Scrub these surfaces with disinfectant and allow proper contact time for maximum effectiveness.
Remember that clean towels on contaminated racks become contaminated themselves, so coordinate your towel washing schedule with rack disinfection to maintain optimal hygiene levels throughout your bathroom cleaning routine.
Living Areas and Bedrooms That Need Daily Attention

Sanitize frequently touched electronics and remote controls safely
Electronics present unique challenges when disinfecting because moisture can damage circuits and screens. Start by unplugging devices before cleaning. Use 70% isopropyl alcohol on a microfiber cloth – never spray directly onto electronics. For smartphones and tablets, power them down completely and remove any cases. Wipe the screen gently with the damp cloth, paying attention to charging ports and speaker grilles where germs accumulate.
Remote controls are germ magnets that often get overlooked. Remove batteries first, then clean each button crevice with a cotton swab dipped in alcohol. Gaming controllers need similar treatment, especially around joysticks and trigger areas where oils from hands create bacterial breeding grounds. Computer keyboards require special attention – turn them upside down to shake out debris, then use compressed air between keys before wiping with alcohol.
Smart home devices like voice assistants collect germs from airborne particles and touch interactions. Clean these weekly with alcohol wipes, avoiding speaker mesh areas. For TVs and monitors, use specialized electronic wipes or a barely damp microfiber cloth to prevent streaking. Always allow devices to air dry completely before reconnecting power or replacing batteries.
Clean light switches and door handles throughout your home
Light switches and door handles rank among the most contaminated surfaces in any home, touched countless times daily by every family member. These high-contact points require daily disinfection to prevent cross-contamination between rooms. Start with door handles, using a disinfectant spray or wipe that kills 99.9% of germs. Pay attention to both sides of handles, including the area where your thumb naturally grips.
Light switches need gentle but thorough cleaning since harsh chemicals can damage the finish or electrical components. Turn off power at the breaker before deep cleaning, but for daily maintenance, simply spray disinfectant on a cloth rather than directly on the switch. Clean around the edges where the switch plate meets the wall – this groove collects dust, oils, and bacteria.
Don’t forget cabinet handles, drawer pulls, and closet door knobs. These surfaces often harbor germs for hours because they’re touched less frequently than main door handles, giving bacteria time to multiply. Create a systematic approach by moving through each room clockwise, cleaning all touch points before moving to the next area. Keep disinfectant wipes handy in each major room for quick daily touch-ups.
Disinfect furniture surfaces and decorative items effectively
Upholstered furniture requires different disinfecting approaches than hard surfaces. Fabric sofas and chairs can harbor viruses and bacteria deep in the fibers. Use fabric-safe disinfectant sprays, testing on hidden areas first to prevent discoloration. Focus on armrests, headrests, and seat cushions where body contact occurs most. Allow fabric to dry completely before use to prevent mold growth.
Leather furniture needs special care – harsh disinfectants can crack or fade the material. Use leather-specific cleaners or make a mild solution of soap and water. Apply with a soft cloth, then follow with a leather conditioner to maintain flexibility. Wooden furniture surfaces should be cleaned with wood-safe disinfectants to avoid damaging finishes. Avoid oversaturating wood, as moisture can cause warping or staining.
Decorative items like picture frames, vases, and collectibles accumulate dust and germs but often get skipped during cleaning routines. These items can transfer germs when handled or touched accidentally. Group similar items together for efficient cleaning – glass items can be sprayed with disinfectant, while delicate ceramics might need gentle wiping with alcohol-dampened cloths. Books and magazines also harbor germs on covers and pages, especially in frequently-read publications. Wipe covers with disinfectant wipes and allow to dry before returning to shelves.
Special Considerations for Different Surface Materials
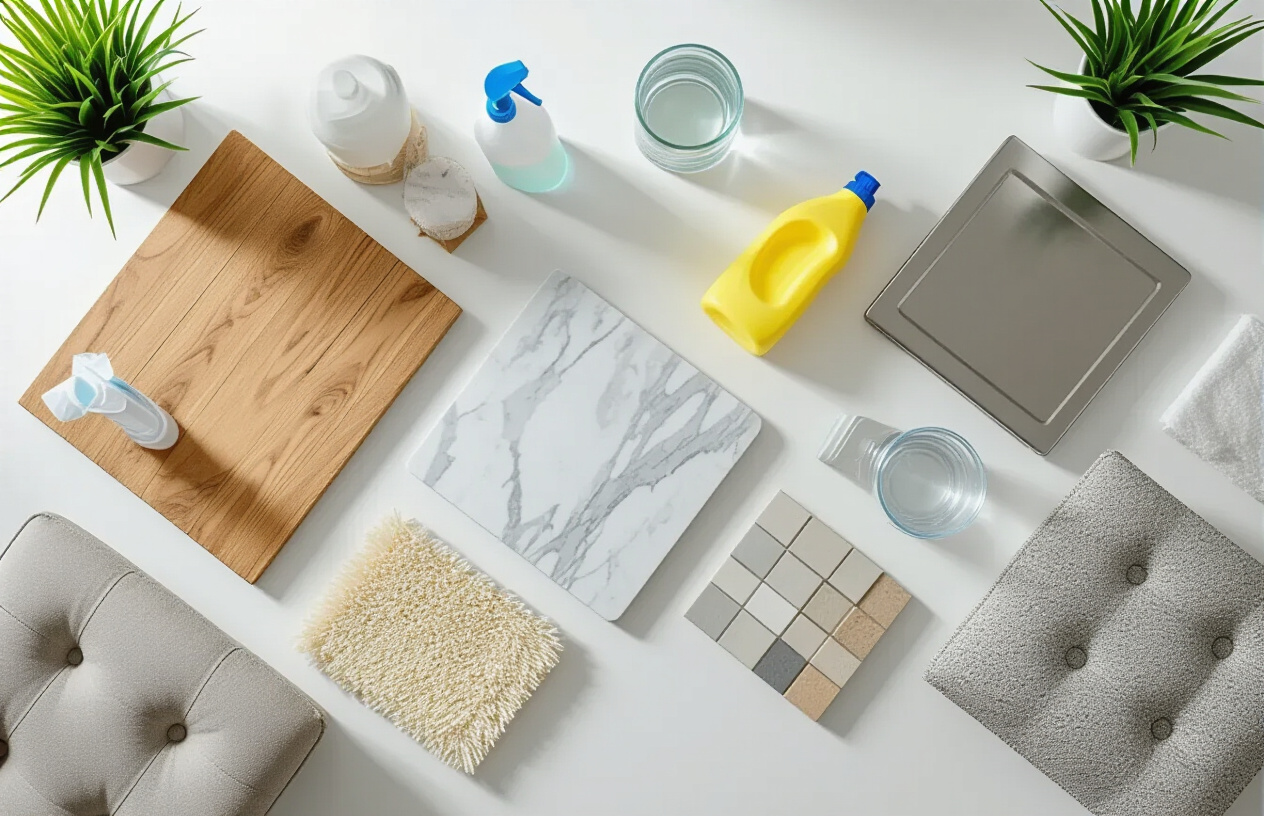
Protect wood surfaces while achieving proper disinfection
Wood surfaces require special attention because traditional disinfectants can strip natural oils and cause permanent damage. Always test any cleaning product on a small, hidden area first. Avoid soaking wood with liquid cleaners, which can cause warping, cracking, or discoloration.
For sealed wood surfaces like finished furniture or floors, use a slightly damp microfiber cloth with a gentle wood cleaner. Follow up with a dry cloth immediately to prevent moisture from penetrating the finish. Alcohol-based disinfectants work well on sealed wood but should be diluted to 70% concentration and used sparingly.
Raw or unfinished wood needs even gentler treatment. Create a solution using one part white vinegar to three parts water, or use specialized wood disinfectants that contain natural antimicrobial ingredients. Apply with a barely damp cloth and dry thoroughly.
For high-touch wooden items like cutting boards, consider using hydrogen peroxide (3% solution) applied with a cloth, then wiped clean after 30 seconds. Never use bleach on wood surfaces, as it can cause permanent staining and weaken the wood fibers.
Safely clean electronic devices without causing damage
Electronics need careful disinfection to avoid damaging sensitive components while eliminating germs effectively. Power down all devices before cleaning and unplug them from power sources. Remove batteries if possible.
Use 70% isopropyl alcohol applied to a microfiber cloth—never spray directly onto the device. The cloth should be barely damp, not wet enough to drip. Focus on high-touch areas like screens, keyboards, mouse surfaces, and phone cases.
| Device Type | Safe Cleaning Method | What to Avoid |
|---|---|---|
| Smartphones/Tablets | 70% alcohol on microfiber cloth | Submerging in liquid |
| Keyboards | Alcohol wipes between keys | Excess moisture |
| TV Screens | Specialized screen cleaner | Ammonia-based products |
| Gaming Controllers | Alcohol on cotton swabs for crevices | Bleach solutions |
For screens, use products specifically designed for electronics or a solution of equal parts distilled water and white vinegar. Avoid paper towels, which can scratch surfaces. Cotton swabs work well for cleaning around buttons and ports, but make sure they’re not dripping wet.
Handle fabric and upholstered items with appropriate methods
Fabric surfaces harbor germs in their fibers, making them challenging to disinfect properly. Check care labels before applying any cleaning products, as some fabrics may require professional cleaning.
For washable fabrics like curtains, pillow covers, and removable cushion covers, use the hottest water setting recommended on the care label. Add bleach for white items or color-safe bleach for colored fabrics. The heat and detergent combination effectively kills most pathogens.
Non-removable upholstery needs different treatment. Steam cleaning works exceptionally well for killing germs without chemicals. Rent or purchase a steam cleaner that reaches temperatures above 160°F. Work in small sections and allow adequate drying time to prevent mold growth.
For spot disinfection, create a solution using fabric-safe disinfectant spray or mix one cup of water with one tablespoon of liquid laundry detergent. Test on an inconspicuous area first. Spray lightly, work in with a clean brush, and blot with a clean cloth.
Leather requires special leather cleaners followed by conditioner to prevent cracking. Never use alcohol or bleach on leather surfaces.
Maintain natural stone and delicate surfaces properly
Natural stone surfaces like marble, granite, and limestone need pH-neutral cleaners to prevent etching and damage. Acidic cleaners, including vinegar and lemon-based products, can permanently damage these surfaces by dissolving the stone’s calcium carbonate.
Use stone-specific cleaners or create a gentle solution with warm water and a few drops of pH-neutral dish soap. Apply with a soft cloth, rinse with clean water, and dry immediately with a microfiber cloth to prevent water spots.
For disinfection, look for stone-safe disinfectants or use 70% isopropyl alcohol sparingly. Apply to a cloth rather than spraying directly onto the stone. Always follow with a thorough rinse and immediate drying.
Delicate surfaces like antique finishes, lacquered items, or hand-painted pieces need professional-grade cleaners designed for their specific materials. When in doubt, consult with restoration professionals before attempting to disinfect valuable or irreplaceable items.
Sealed stone surfaces can handle stronger cleaners than unsealed ones. If you’re unsure whether your stone is sealed, place a small drop of water on the surface. If it beads up, it’s sealed; if it absorbs, it needs sealing and gentler cleaning methods.
Keeping your home properly disinfected doesn’t have to be overwhelming once you understand the basics. From gathering the right supplies to mastering the correct techniques, you now have the knowledge to tackle every surface effectively. Remember that kitchens and bathrooms need extra attention since they harbor the most dangerous germs, while your living areas and bedrooms benefit from consistent daily care.
The key is matching your disinfecting approach to each surface material and understanding which areas pose the highest risks. Start with high-touch surfaces like doorknobs, light switches, and countertops, then work your way through each room systematically. By making disinfection a regular part of your cleaning routine and using the proper techniques for each surface type, you’ll create a healthier environment for your family and give yourself peace of mind knowing your home is truly clean.
img{width:100%;
}
table, td, th {
border: 1px solid;
}
table {
width: 100%;
border-collapse: collapse;
}
Estimated reading time: 21 minutes
Key Takeaways
- Proper disinfection of your home prevents illness caused by harmful germs and bacteria.
- Use EPA-approved disinfectants and essential supplies like microfiber cloths for maximum effectiveness.
- Learn correct techniques for disinfecting various surfaces, focusing on kitchen and bathroom high-risk areas.
- Pay special attention to frequently touched items like door handles and electronics in your home.
- Follow specific cleaning guidelines for different materials to avoid damage while ensuring cleanliness.


