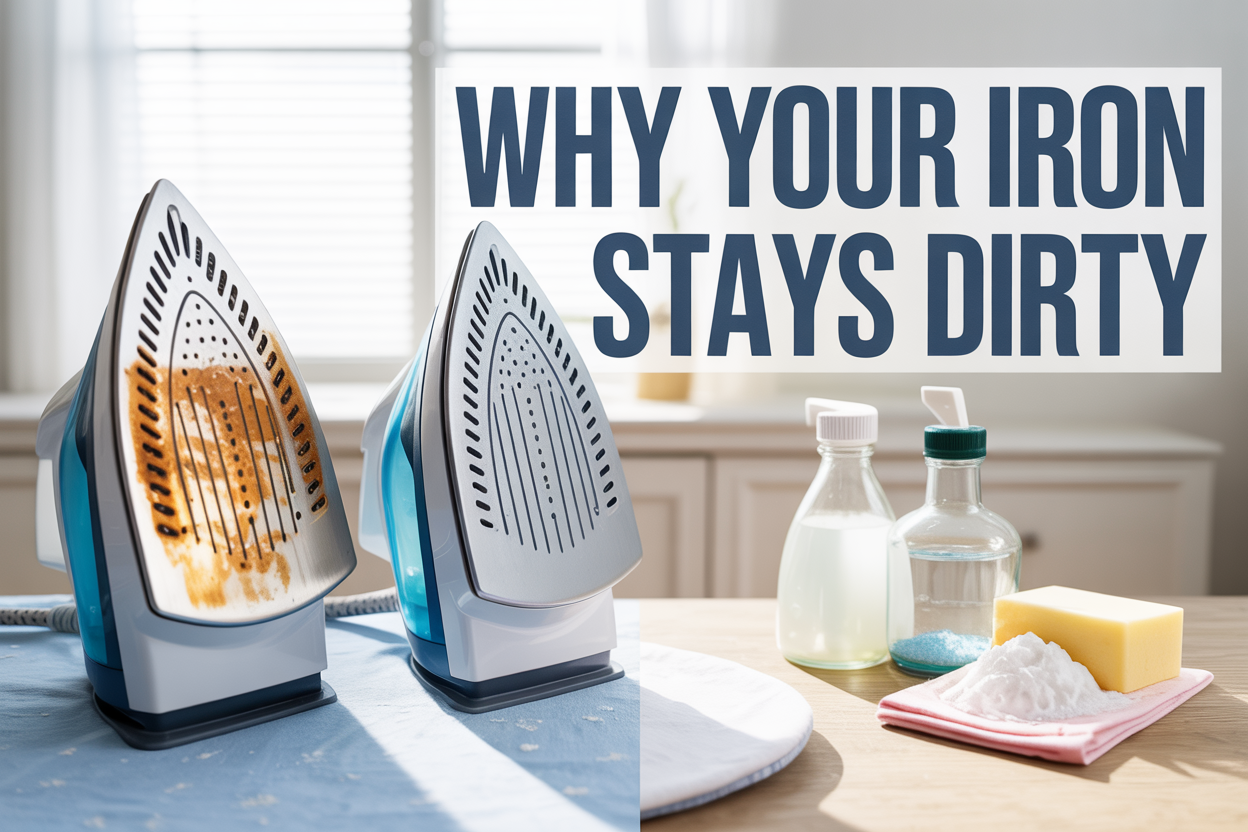
Why Your Iron Stays Dirty (And What Actually Works)
Your iron stays dirty because most people are making the same cleaning mistakes over and over again. This guide is for anyone tired of dealing with a grimy soleplate that leaves marks on clothes or an iron that just won’t heat evenly anymore.
You’ll discover the common cleaning mistakes that actually make your iron dirtier, plus the hidden reasons why some stains seem impossible to remove. We’ll also cover the cleaning methods that really work (spoiler: it’s not what most people try first) and simple steps to prevent buildup before it starts.
Stop fighting with a dirty iron that ruins your clothes. Here’s what actually works to get it clean and keep it that way.
Common Mistakes That Keep Your Iron Filthy
Using tap water instead of distilled water
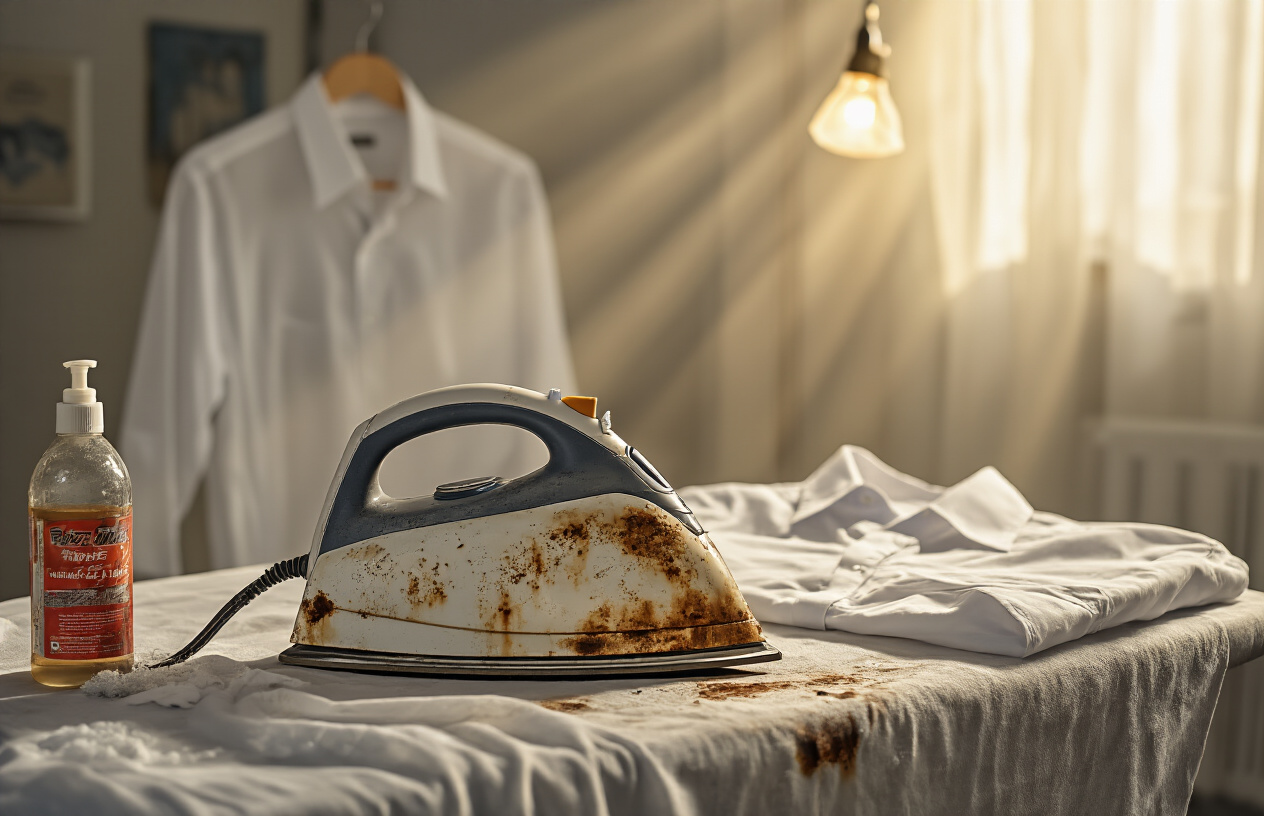
Tap water is the biggest culprit behind those mysterious brown and white stains on your iron’s soleplate. Your regular tap water contains minerals like calcium and magnesium that create crusty buildup inside your iron’s steam vents and water reservoir. When these minerals heat up, they form scale deposits that eventually leak out as ugly brown streaks onto your clothes.
The mineral content in tap water varies dramatically depending on your location. Hard water areas have higher concentrations of these minerals, making the problem even worse. Every time you fill your iron with tap water, you’re basically feeding it a cocktail of minerals that will crystallize and clog your appliance.
Many people think they can get away with using tap water occasionally, but even sporadic use creates problems. The minerals don’t just disappear – they accumulate over time, building layers of scale that become increasingly difficult to remove. Your iron’s steam function starts working poorly, and those telltale brown spots appear on your freshly pressed shirts.
Water Type Comparison:
| Water Type | Mineral Content | Iron Buildup Risk | Cost per Use |
|---|---|---|---|
| Tap Water | High | Very High | Lowest |
| Filtered Water | Medium | Medium | Low |
| Distilled Water | None | None | Higher |
Ignoring fabric softener and starch buildup
Fabric softeners and spray starches leave invisible residues on your clothes that transfer directly to your iron’s soleplate. These sticky substances act like magnets for dust, lint, and other particles, creating a gummy layer that gets progressively thicker with each use.
Most people don’t realize that fabric softener residue doesn’t just disappear when clothes dry. The waxy coating remains on fabric fibers and melts when it contacts your hot iron, creating a film that attracts more dirt and debris. Spray starches are even worse because they contain sugars and polymers that literally caramelize on hot metal surfaces.
This buildup starts subtly. You might notice your iron doesn’t glide as smoothly, or there’s a slight stickiness when you lift it. These are early warning signs that residue is accumulating. Left unchecked, this buildup hardens into a stubborn coating that requires aggressive cleaning methods to remove.
The problem compounds when people use their irons on different fabric types without cleaning between uses. Cotton treated with starch followed by synthetic blends creates a cocktail of residues that bond together on your soleplate.
Cleaning at the wrong temperature settings
Temperature matters enormously when cleaning your iron, yet most people get this completely wrong. Cleaning a cold iron is nearly useless because hardened residues won’t budge without heat to soften them. But cranking the heat too high can damage cleaning solutions or cause them to evaporate before they work effectively.
The sweet spot for most cleaning methods is a warm iron – hot enough to soften buildup but not so hot that cleaning products break down. Many commercial iron cleaners specifically require temperatures between 200-250°F to activate properly. Too cool, and they won’t penetrate stubborn deposits. Too hot, and they can create toxic fumes or lose effectiveness.
People often make the mistake of turning their iron to maximum heat thinking it will blast away stubborn stains. This approach can actually set certain types of buildup deeper into the soleplate’s surface, making removal even more difficult. High heat also risks damaging the iron’s coating or internal components.
Temperature Guidelines for Common Cleaning Methods:
- Salt scrubbing: Medium-high heat (cotton setting)
- Commercial cleaners: Warm (synthetic setting)
- Vinegar solutions: Low-medium heat (silk setting)
- Toothpaste method: Cool to warm temperature
Waiting too long between cleaning sessions
Regular maintenance is the difference between a quick five-minute cleanup and hours of scrubbing with harsh chemicals. Most iron problems develop gradually, starting as light discoloration that progresses to stubborn, baked-on residue that requires aggressive treatment.
Weekly light cleaning prevents minor buildup from becoming major headaches. A simple wipe-down with a damp cloth after each use removes surface residues before they have time to bond with the soleplate. Monthly deep cleaning addresses any accumulation that daily maintenance might miss.
People who wait until their iron leaves marks on clothes are already behind the curve. By that point, the buildup has usually penetrated the soleplate’s surface or clogged steam vents extensively. What could have been prevented with regular maintenance now requires multiple cleaning sessions with stronger solutions.
The “wait until it’s really dirty” approach also shortens your iron’s lifespan. Mineral deposits corrode internal components, while sticky residues strain the temperature control systems. An iron maintained regularly can last 8-10 years, while neglected ones often fail within 3-4 years.
Cleaning Schedule Recommendations:
- After each use: Quick wipe with damp cloth
- Weekly: Steam vent cleaning with distilled water
- Monthly: Deep clean with appropriate cleaning solution
- Quarterly: Professional descaling for heavy users
Hidden Culprits Behind Stubborn Iron Stains
Mineral deposits from hard water
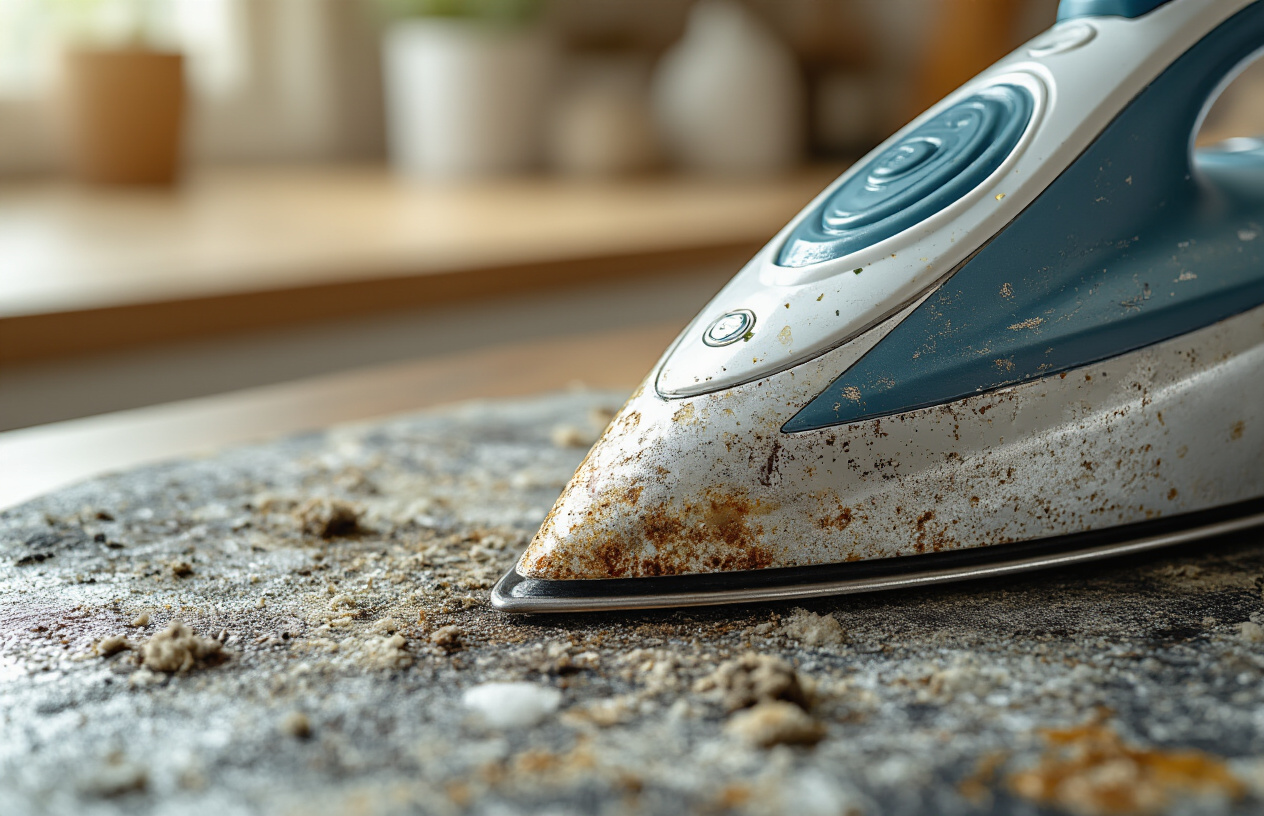
Water quality plays a bigger role in iron performance than most people realize. Hard water contains high concentrations of calcium and magnesium that leave behind chalky white or brown deposits when heated. These minerals don’t just disappear when water evaporates – they crystallize and bond to your iron’s soleplate and internal steam chambers.
The telltale signs include white flakes dropping onto your clothes, reduced steam output, and a gritty texture on the iron’s surface. Areas with hard water see this problem escalate quickly because every time you fill the reservoir, you’re adding more minerals to the mix. The deposits act like sandpaper against fabric and create uneven heat distribution that can damage delicate materials.
Steam vents become particularly problematic as mineral buildup blocks the tiny openings, forcing steam to escape through fewer holes at higher pressure. This creates those dreaded water spots on freshly pressed garments and can even cause spitting or gurgling sounds during use.
Melted synthetic fabric residue
Modern clothing contains synthetic fibers like polyester, nylon, and spandex that have lower melting points than natural fibers. When your iron runs too hot for these materials, the plastic components literally melt and transfer onto the soleplate. This creates a stubborn, glossy coating that’s incredibly difficult to remove with standard cleaning methods.
The residue appears as dark, shiny patches that feel sticky or rough to the touch. Once cooled, this melted plastic hardens into a layer that picks up lint, dust, and other debris, making your iron progressively dirtier. The contaminated surface then transfers this buildup to every piece of clothing you iron afterward.
Athletic wear, activewear blends, and stretchy fabrics are common culprits. Even garments labeled as cotton may contain synthetic blends that aren’t obvious until the damage is done. The melted residue also affects heat distribution, creating hot spots that can burn subsequent items.
Burnt-on spray starch accumulation
Spray starch creates crisp, professional-looking results, but it also leaves behind a sticky residue that builds up over time. When heated repeatedly, this residue carbonizes into a brown or black coating that’s remarkably stubborn. The problem compounds because each application adds another layer to existing buildup.
The burnt starch creates a textured surface that grabs onto fabric fibers, potentially snagging delicate materials. This accumulation also interferes with the iron’s glide, making it drag across fabric instead of moving smoothly. The residue can transfer onto light-colored garments as brown streaks or spots.
Heavy starch users often notice their irons becoming increasingly difficult to clean and less effective at producing smooth results. The carbonized buildup acts like a barrier, preventing proper heat transfer and creating uneven pressing results across the fabric surface.
Safe and Effective Cleaning Methods That Actually Work
White vinegar and water solution technique
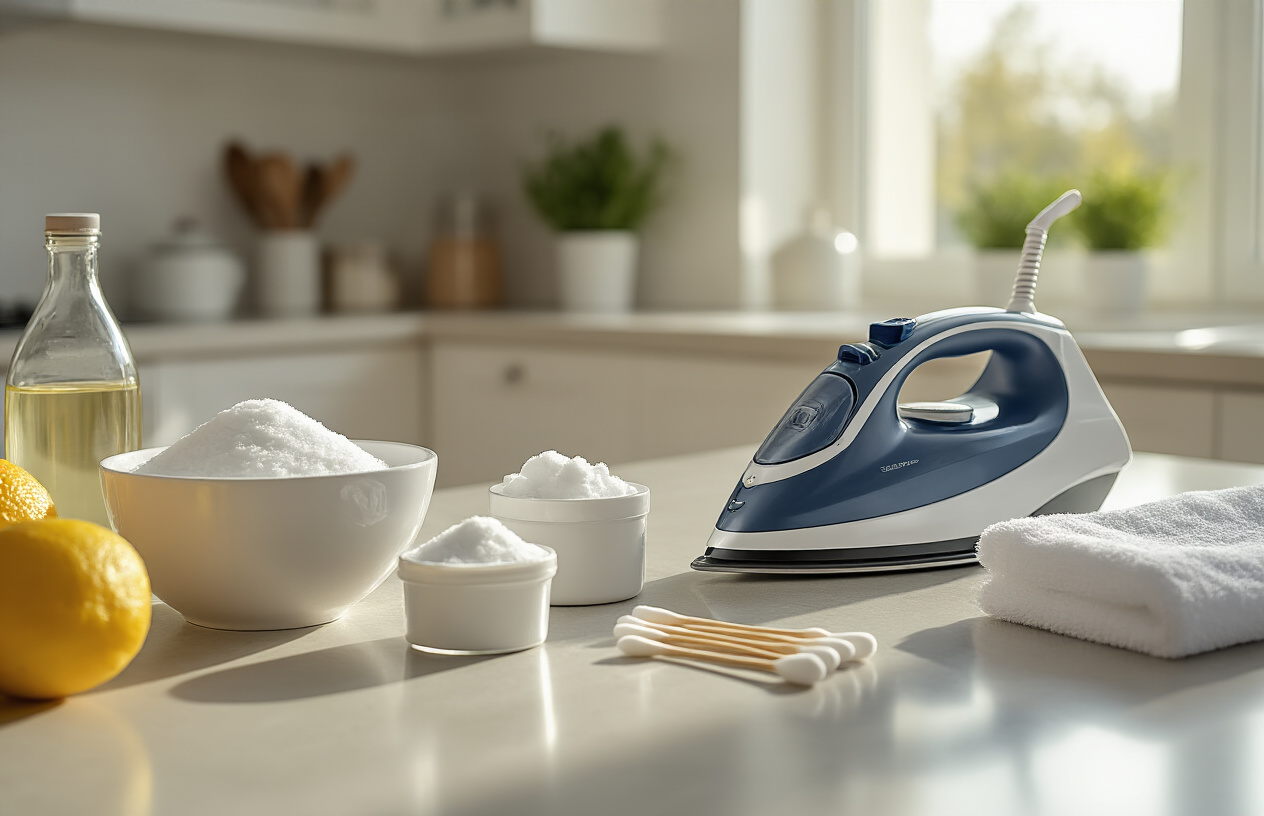
White vinegar works like magic when it comes to dissolving mineral deposits and sticky residue that builds up on your iron. Mix equal parts white vinegar and distilled water in a measuring cup, creating the perfect cleaning solution that’s both gentle and effective.
Start by unplugging your iron and letting it cool completely. Fill the water reservoir with your vinegar solution, then plug the iron back in and set it to steam mode. Let it heat up and steam for about 5-10 minutes, allowing the acidic solution to break down the mineral buildup inside the steam vents.
Next, unplug the iron again and let it cool for a few minutes. Empty the reservoir completely and refill it with plain distilled water. Heat the iron once more and steam for another 5 minutes to flush out any remaining vinegar residue. This step prevents that sharp vinegar smell from transferring to your clothes later.
For the soleplate, dip a clean cloth in the vinegar solution and gently wipe the surface while the iron is still warm but not hot. The warmth helps the vinegar work more effectively against stubborn stains and buildup.
Baking soda paste for tough buildup
When vinegar alone can’t tackle those stubborn brown stains and burnt-on fabric residue, baking soda paste becomes your best friend. Create a thick paste by mixing three parts baking soda with one part water, stirring until you get a consistency similar to toothpaste.
Apply the paste directly to problem areas on the cooled soleplate, paying special attention to those dark, crusty spots that seem impossible to remove. Let the paste sit for 15-20 minutes, giving the baking soda time to break down the buildup through its mild abrasive action.
Use an old toothbrush or soft cloth to gently scrub the paste in circular motions. The baking soda’s gentle abrasiveness lifts away stubborn residue without scratching the soleplate surface. For extra cleaning power, add a few drops of dish soap to your baking soda paste.
Wipe away the paste with a damp cloth, then follow up with a dry cloth to remove any remaining residue. This method works especially well on fabric softener buildup and those mysterious brown spots that appear over time.
Commercial iron cleaners for heavy-duty problems
Sometimes homemade solutions can’t handle severe buildup or years of neglect. Commercial iron cleaners contain specialized ingredients designed to tackle the toughest iron cleaning challenges without damaging sensitive components.
Look for cleaners specifically formulated for steam irons, as these products are designed to work safely with your iron’s internal components. Popular brands like Faultless, Rowenta, and Iron-Off offer targeted solutions that dissolve mineral deposits, remove fabric residue, and restore your iron’s performance.
Follow the manufacturer’s instructions carefully, as these products are more concentrated than homemade solutions. Most commercial cleaners require you to heat the iron, apply the product, and then steam it through the vents before rinsing with distilled water.
| Cleaner Type | Best For | Application Time | Safety Level |
|---|---|---|---|
| Liquid concentrates | Mineral deposits | 10-15 minutes | High |
| Spray cleaners | Soleplate stains | 5-10 minutes | High |
| Powder formulas | Heavy buildup | 15-20 minutes | Medium |
Always ventilate your workspace when using commercial cleaners, as they may produce fumes during the cleaning process.
Salt scrubbing method for soleplate cleaning
The salt scrubbing method offers a surprisingly effective way to clean your iron’s soleplate using something you already have in your kitchen. This technique works best for removing sticky residue and light scorch marks without harsh chemicals.
Heat your iron to a medium setting, then unplug it for safety. Sprinkle coarse salt generously across a piece of wax paper or parchment paper. While the iron is still warm, gently run the soleplate over the salt in smooth, straight motions. The salt crystals act as a gentle abrasive, scrubbing away buildup while the heat helps loosen stubborn spots.
Watch as the salt picks up the dirt and residue from your iron’s surface. You might be amazed at how much grime comes off with this simple method. The combination of heat and salt’s natural abrasive properties makes quick work of most soleplate problems.
After scrubbing, wipe the soleplate clean with a damp cloth to remove any salt residue. This method works particularly well for synthetic fabric residue that melts onto the soleplate during ironing accidents. Keep the iron moving to prevent scratching, and never use this method on non-stick coated soleplates.
Preventive Measures to Keep Your Iron Spotless
Regular Maintenance Scheduling
Creating a consistent cleaning routine prevents buildup before it becomes a problem. Clean your iron’s soleplate after every 10-15 uses, or weekly if you iron frequently. Monthly deep cleaning sessions should include flushing the steam system and checking for mineral deposits.
Mark your calendar for quarterly maintenance checks where you inspect the cord, test steam holes, and verify temperature accuracy. Many people skip this step, but checking your iron’s performance regularly catches issues early. If you notice uneven heating, inconsistent steam output, or strange odors, address these immediately rather than waiting for your next scheduled cleaning.
Keep a simple log of when you last cleaned your iron. This takes the guesswork out of maintenance timing and ensures you stay on track. Professional seamstresses often clean their irons daily, but home users can maintain excellent performance with weekly attention.
Proper Water Selection and Storage
The water you choose directly impacts your iron’s longevity and performance. Distilled water remains the gold standard because it contains no minerals that create scale buildup. While tap water seems convenient, its mineral content varies dramatically by location and can quickly clog steam vents.
Never leave water sitting in your iron’s reservoir for extended periods. Stagnant water promotes bacteria growth and mineral crystallization, even with distilled water. Empty the tank completely after each use and store your iron upright in a dry location.
| Water Type | Suitability | Notes |
|---|---|---|
| Distilled | Excellent | Best choice for all irons |
| Filtered | Good | Remove minerals first |
| Tap Water | Poor | High mineral content damages internals |
| Bottled | Variable | Check mineral content labels |
Some manufacturers recommend specific water types for their models. Check your manual before assuming distilled water works best for your particular iron. Certain high-end models actually perform better with a small amount of minerals present.
Temperature Control for Different Fabrics
Matching temperature settings to fabric types prevents both damage to your clothes and unnecessary stress on your iron. Start with lower temperatures and work up gradually rather than blasting delicate fabrics with high heat right away.
Cotton and linen handle high temperatures well, while synthetics like polyester and nylon require much cooler settings. Silk sits somewhere in the middle but needs careful attention to prevent scorching. Always test on an inconspicuous area first when working with unfamiliar fabrics.
Your iron works more efficiently when you organize your ironing by temperature. Start with items requiring the coolest settings and work your way up. This prevents waiting for the iron to cool down between different fabric types and reduces thermal cycling that stresses internal components.
Pay attention to fabric blends, which often require compromise temperatures. A cotton-polyester blend needs moderate heat that won’t damage the synthetic fibers while still pressing the cotton effectively. When in doubt, choose the lower temperature recommendation and make multiple passes if needed.
Professional Tips for Long-Term Iron Care
Steam Function Maintenance and Descaling
Your iron’s steam system needs regular attention to prevent mineral buildup that can clog vents and reduce performance. Hard water creates the biggest headaches, leaving calcium and lime deposits that block steam holes and create white flakes on your clothes.
Run a descaling cycle monthly if you use your iron frequently, or every three months for lighter use. Fill the water tank with equal parts white vinegar and distilled water, then heat the iron and activate the steam function over a sink or towel. Let the solution work through the system for 10-15 minutes, pressing the steam button every few seconds.
After descaling, flush the system thoroughly with distilled water to remove any vinegar residue. Check steam holes with a toothpick to clear stubborn blockages, but avoid metal objects that could scratch the soleplate.
The burst steam feature deserves special attention since it uses more water and creates more mineral deposits. Test this function during your cleaning routine to ensure it’s working properly. If steam output seems weak or uneven, your iron needs descaling immediately.
Replace your water regularly instead of letting it sit in the tank between uses. Stagnant water breeds bacteria and increases mineral concentration, making your cleaning job harder.
Proper Storage Techniques to Prevent Damage
How you store your iron directly impacts its lifespan and performance. Never wrap the cord around the iron while it’s still warm – this damages the cord’s insulation and creates weak spots that can cause electrical problems.
Empty the water tank completely before storage. Even a small amount of leftover water can cause rust, especially in irons with metal tanks. Turn the iron upside down and shake gently to remove every drop.
Store your iron upright on its heel rest in a dry location. Laying it flat puts pressure on the soleplate and can cause warping over time. Many people make the mistake of storing their iron in a humid laundry room or basement – this accelerates corrosion and mineral buildup.
Keep the cord loose and avoid tight coiling. Wrap it gently around your hand, then secure with a velcro tie or cord organizer. Sharp bends weaken the internal wires and lead to costly repairs.
Consider investing in a heat-resistant storage pad or mat. This protects your storage surface and provides a designated spot that reminds you to empty the tank and let the iron cool completely.
Room temperature storage works best. Extreme temperatures, whether hot or cold, can damage internal components and affect the thermostat’s accuracy.
When to Replace vs Repair Your Iron
Age alone doesn’t determine whether to replace your iron – focus on performance and safety issues instead. A well-maintained iron can last 8-10 years, while a neglected one might need replacement in just 2-3 years.
Replace your iron immediately if you notice these safety red flags:
- Frayed or damaged power cord
- Electrical sparking or burning smells
- Water leaking from anywhere except the steam vents
- Handle cracks or loose parts
- Inconsistent temperature control that could burn fabrics
Performance issues that justify replacement include permanent soleplate scratches that snag fabric, completely blocked steam vents that won’t clear with descaling, and thermostats that no longer maintain consistent temperatures.
Calculate repair costs carefully. If professional repair costs exceed 50% of a new iron’s price, replacement makes more financial sense. Most repair shops charge $40-60 just for diagnosis, before any actual work begins.
Consider your iron’s features when deciding. Older irons lack modern safety features like auto-shutoff and may use more energy than newer models. If your iron is more than 7 years old and showing multiple problems, upgrading often provides better value than repairs.
Some high-end irons justify repair costs due to their superior build quality and replacement expense. Steam generator irons, for example, often cost $200-400 new, making a $75 repair worthwhile.
Keep your purchase receipt and warranty information. Many manufacturers offer free repairs within the warranty period, even for issues that seem user-caused.
Your iron doesn’t have to be a constant source of frustration. The real problem isn’t that irons are impossible to clean – it’s that most people are making the same avoidable mistakes and missing the root causes of buildup. Once you stop using the wrong products, address mineral deposits properly, and switch to proven cleaning methods, your iron will start performing like new again.
The secret to a spotless iron comes down to consistency and the right approach. Clean your iron regularly with simple household items, use distilled water, and empty the reservoir after each use. These small changes will save you hours of scrubbing later and protect your clothes from those annoying brown streaks and sticky residue. Your iron will thank you, and so will your favorite shirts.
img{
width:100%;
}
table, td, th {
border: 1px solid;
}
table {
width: 100%;
border-collapse: collapse;
}


